How to Melt Milk Chocolate in the Microwave in 7 Easy Steps
If you’ve ever tried melting milk chocolate in the microwave, you know it can be tricky to get it just right without burning or seizing. Using the right microwave technique is essential to achieve a smooth, glossy melt that’s perfect for baking or dipping.
Before you start melting milk chocolate in the microwave, make sure you have everything you need. Understanding the key steps will help you avoid common mistakes and ensure your chocolate melts evenly.
Let’s walk through the simple process together so you can master how to melt milk chocolate in the microwave quickly and easily.
Gather Your Ingredients and Tools

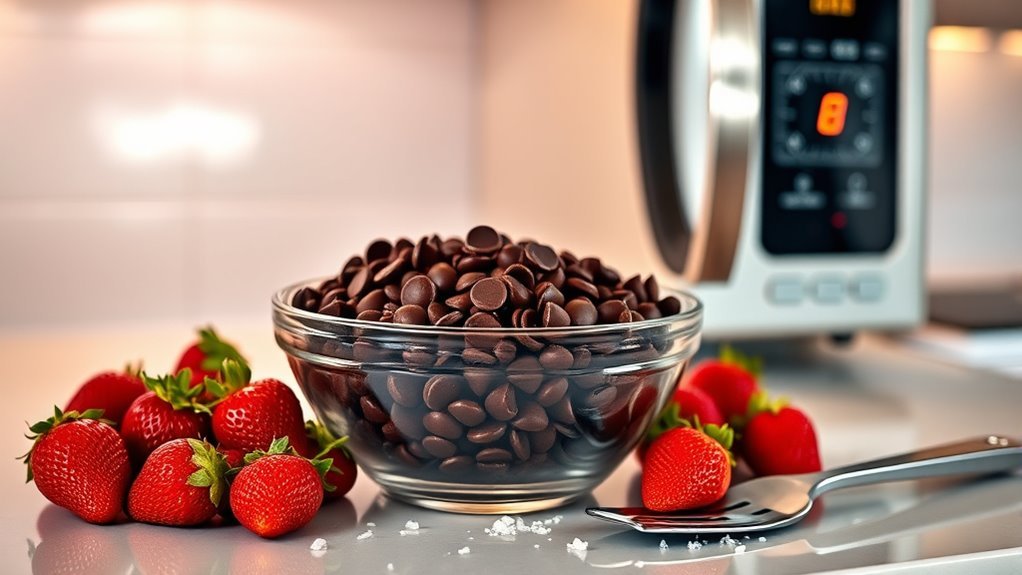
Before you begin melting milk chocolate, gather 8 ounces of finely chopped chips, chunks, or a bar to guarantee even melting. Using finely chopped pieces helps the chocolate melt smoothly and evenly.
Start with 8 ounces of finely chopped milk chocolate for smooth and even melting every time.
Next, choose a microwave-safe bowl made of glass or ceramic to ensure even heat distribution and prevent overheating. Avoid plastic bowls, as they can trap heat unevenly.
Have a heat-resistant spoon or spatula ready to stir the chocolate after each interval in the microwave. Stirring prevents hot spots and promotes consistent melting.
Make sure your bowl and utensils are completely dry, since any moisture can cause the chocolate to seize and become grainy.
Once you have your chocolate chips or chunks and tools ready, you’re set to melt chocolate perfectly in your microwave-safe bowl.
Chop the Milk Chocolate Evenly

When you chop milk chocolate evenly with a sharp knife, you help it melt quickly and smoothly. Start by cutting the chocolate into small pieces about 1/4 to 1/2 inch in size. This even size ensures uniform melting, preventing any chunks from taking longer to soften.
Finely chopped milk chocolate melts more consistently, reducing the risk of overheating or burning during microwave intervals. By keeping the pieces uniform, you maintain better control over the melting process, which results in smooth, creamy chocolate.
Avoid chopping the chocolate into large chunks, as they cause uneven heating and slow down melting. Taking this simple step sets you up for perfectly melted milk chocolate every time.
Choose a Microwave-Safe Bowl

After chopping your milk chocolate into even pieces, pick the right bowl to melt it in the microwave. Choosing a microwave-safe bowl is essential for even heat distribution and to avoid accidents. Here’s what you need to keep in mind:
- Use a glass or ceramic bowl to guarantee even heating and prevent melting accidents.
- Avoid plastic bowls unless labeled microwave-safe, as they can warp or melt.
- Make sure your bowl is clean and dry to prevent moisture from seizing the chocolate.
Also, pick a bowl large enough for stirring without spilling. A clear or light-colored bowl helps you monitor the melting process easily, so you can stop before it overheats.
This way, you’ll melt your milk chocolate perfectly every time!
Set Microwave Power to Medium
Although it might seem faster to use full power, setting your microwave to medium or 50% power helps melt milk chocolate gently and evenly. This power setting provides controlled heat that prevents burning or seizing, which can ruin melting chocolate.
Medium power ensures the heat spreads evenly throughout the chocolate, minimizing hot spots and promoting a smooth texture. If you’re melting small amounts, this setting reduces the risk of overheating, making it easier to achieve consistent results.
Additionally, if your microwave tends to run hot, adjusting to medium power helps maintain an even melt without constant stirring.
Heat the Chocolate in Intervals
Since milk chocolate can burn easily, heat it in 30-second intervals in the microwave to keep control. This approach helps you melt the chocolate gradually without overheating.
After each interval, stir the chocolate to distribute the heat evenly and prevent hot spots.
Follow these steps to get perfectly melted chocolate:
- Heat the chocolate in 30-second intervals at medium power.
- Stir thoroughly after each interval to blend the heat.
- Stop heating when 80-90% of the chocolate is melted, then let it sit for a minute before the final stir.
Stir Thoroughly Between Heating
When you heat milk chocolate in intervals, stirring thoroughly between each session guarantees the heat spreads evenly and prevents burning. After every 30 seconds in the microwave, use a silicone spatula to stir thoroughly.
This action mixes the melted chocolate pieces with the unmelted chunks, ensuring the heat distributes evenly throughout the bowl. Stirring during the melting process helps residual heat soften the remaining chocolate, cutting down the total time needed.
It also keeps the temperature uniform, avoiding seizing or scorching. By stirring thoroughly, you maintain a smooth, consistent texture that’s perfect for your recipes.
Final Stir and Smooth Finish
To achieve a glossy, smooth finish, give your melted milk chocolate a final thorough stir after microwaving. This step guarantees the chocolate is evenly melted and free from lumps, creating that perfect silky texture. Here’s how to nail it:
- Let the chocolate rest briefly to let residual heat soften any stubborn chunks.
- Use a spatula to gently fold and blend until the mixture looks uniformly glossy.
- Stir vigorously one last time to incorporate temperature differences and achieve a smooth finish.
Don’t rush this final stir; it’s key to transforming your chocolate into a luscious, lump-free delight.
Once smooth and glossy, your milk chocolate is ready for dipping, drizzling, or decorating, bringing an irresistible shine and texture to every bite.
Frequently Asked Questions
How to Melt Milk Chocolate in the Microwave?
You chop the milk chocolate finely, place it in a microwave-safe bowl, and heat at 50% power for 30 seconds. Stir, then repeat in short bursts, stirring until mostly melted.
Finish stirring off heat.
Why Is My Chocolate Not Melting in the Microwave?
Your chocolate’s stubborn, like a frozen block refusing to soften because it’s too cold or clumped. Don’t rush it. Cut evenly, use low power, and avoid water to melt it smoothly without seizing or burning.
How to Melt Chocolate Quickly and Easily?
You can melt chocolate quickly by chopping it into small pieces, microwaving at 50% power in 30-second intervals, stirring often, and stopping when mostly melted, then stirring until smooth using residual heat.
How Many Minutes to Put Chocolate in the Microwave?
You should microwave milk chocolate for about 1 to 1.5 minutes total at 50% power. Stir every 15 to 30 seconds to guarantee even melting and prevent burning, stopping when mostly melted.
Conclusion
Congrats, you’ve just mastered the ancient art of not burning your milk chocolate in the microwave! By chopping, stirring, and patiently heating like a pro, you’ve avoided a gooey disaster that could scar your kitchen forever.
Now, sit back and admire that glossy, smooth chocolate—because who knew melting candy could feel this victorious? Next time, you’ll probably start a chocolate fan club.
Until then, enjoy your perfectly melted masterpiece without setting off any alarms! Melting milk chocolate in the microwave has never been this easy or satisfying.