How to Make Cream with Milk: 7 Easy Steps for Homemade Cream
You might have heard that making cream from milk is complicated, but is that really true? With just a few simple steps and the right approach, you can separate rich cream right at home. Learning how to make cream with milk is easier than you think.
Once you understand how the process works, you’ll be able to enjoy fresh cream anytime. It’s more straightforward than you think, and the results are delicious. Let’s explore what it takes to transform ordinary milk into smooth, creamy goodness.
Selecting the Right Milk for Cream

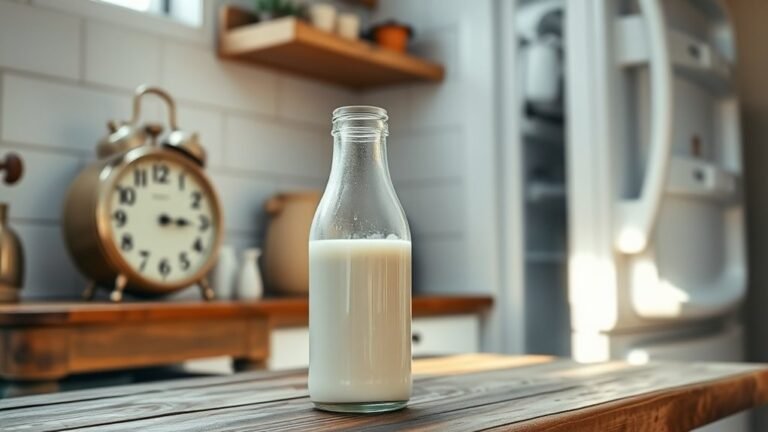
When selecting milk for cream, you’ll want to choose non-homogenized milk so the cream can naturally rise to the top.
Look for whole milk or high-fat milk varieties, as they offer the best cream yield due to their higher fat content.
Check labels or glass bottles for unhomogenized cream or a visible cream layer. This indicates the milk hasn’t been homogenized.
Unpasteurized milk can also provide excellent results if you have access to it.
Using non-homogenized milk is essential for proper cream separation, allowing the cream to form a distinct layer you can skim off.
This process makes homemade cream richer and thicker, perfect for whipping or butter-making.
Avoid homogenized milk, as it prevents cream separation and reduces your cream yield.
Allowing Milk to Rest and Separate

How long should you let fresh, non-homogenized milk rest to form cream? You need to let the milk rest undisturbed for 24 hours.
Let fresh, non-homogenized milk rest undisturbed for 24 hours to allow cream to naturally rise.
During this milk resting period, natural cream separation occurs as the fat globules rise, creating a thick, yellowish cream layer at the top.
This cream rise is essential for cream layer formation, which you’ll later collect. Use a wide-mouthed jar to encourage easy milk separation and to access the cream layer without disturbing the milk underneath.
Avoid shaking or moving the container, as this disrupts the cream separation and mixes the cream back into the milk.
Collecting the Cream Layer

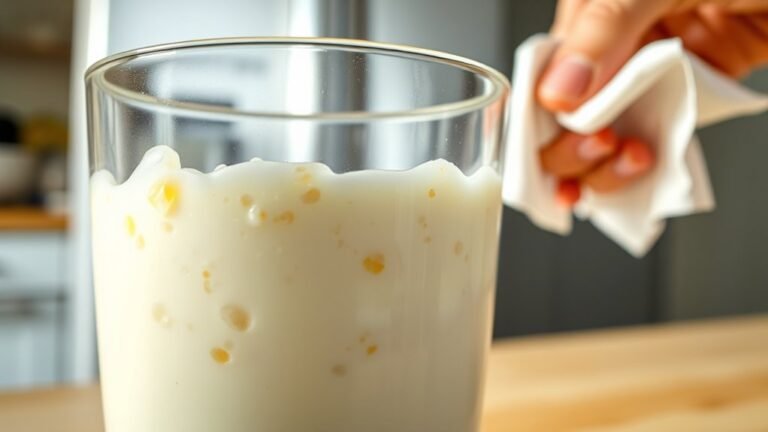
After letting the milk rest undisturbed for 24 hours, you’ll notice a thick, yellowish cream layer sitting on top. This natural separation happens because the fat in the milk rises, forming a distinct cream layer above the translucent milk in your jar.
To collect the cream, use a wide-mouthed jar to easily access the top layer without disturbing the milk beneath. Carefully dip a ladle or turkey baster into the cream layer and gather it slowly, making sure not to mix it with the milk below.
Transfer the separated cream into a separate container, repeating the process until about an inch of cream remains in the jar. This careful separation ensures you gather rich cream packed with milk fat.
Preparing the Cream for Use
Before you use the cream, make sure to store it in an airtight container and keep it refrigerated to preserve its freshness and quality.
After collecting the cream layer from fresh milk, your homemade heavy cream contains rich milk fat essential for making delicious whipped cream or other recipes.
To prepare the cream for use, gently stir it step by step to ensure even consistency without breaking the cream separation. Avoid shaking vigorously, as this can affect the texture.
Always store the cream in a clean airtight container to prevent contamination and spoilage. Use it within one week for maximum freshness.
Enhancing Cream Flavor and Texture
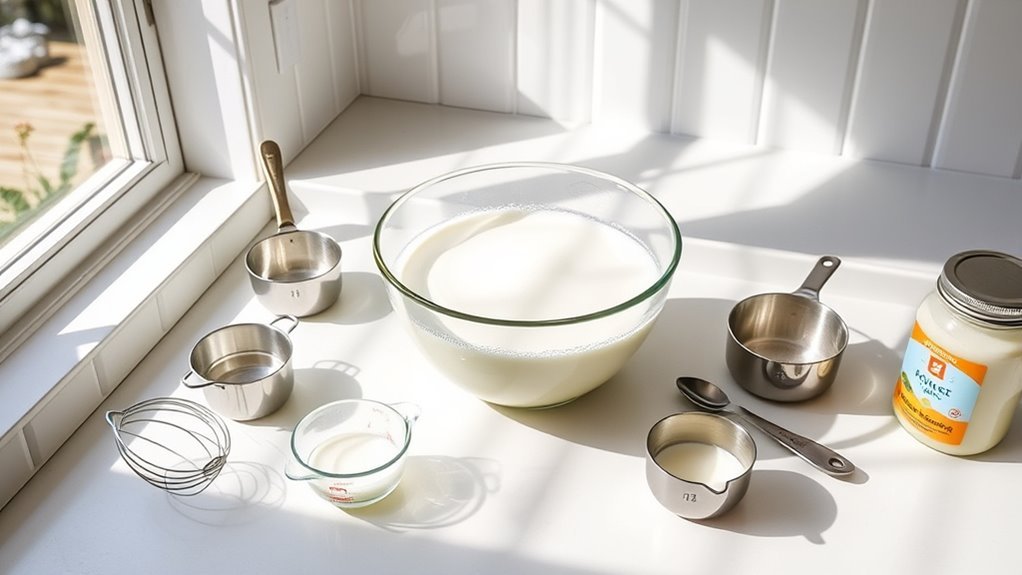
While preparing your cream, you can enhance its flavor and texture by adding ingredients like vanilla extract, peanut butter, or coffee to the milk mixture before whipping. These additions add depth and provide excellent flavor enhancement.
For a unique twist, try incorporating flavored gelatin, which not only introduces subtle tastes but also improves texture and appearance. Using powdered sugar instead of granulated sugar guarantees smoother sweetness and a creamier consistency.
Remember to chill the mixture thoroughly before whipping, as a well-chilled mixture boosts stability and fluffiness.
Gradually increasing the whipping speed during mixing techniques helps you achieve a light, airy texture without overworking the cream.
These simple steps will elevate your homemade cream with improved flavor and texture every time.
Storing Cream Properly
Proper storage plays an essential role in keeping your homemade cream fresh and flavorful. To avoid spoilage and contamination, always store cream in an airtight container or glass jar with a tight seal. Keep it in the refrigerator to maintain its freshness and extend shelf life.
Be mindful of the storage duration. Use the cream within one week for ideal taste and safety. If you need to store it longer, freezing is an option, but it may affect texture.
- Use an airtight container to prevent contamination and odor absorption
- Keep cream sealed and refrigerated at all times
- Shake or stir if cream separates before use
- Freeze only if necessary, up to 3 weeks, noting possible texture changes Following these tips helps you enjoy your cream at its best.
Using Cream in Recipes
When you incorporate homemade cream into your recipes, you immediately boost their richness and flavor. Using cream in recipes like curries, gravies, or pasta adds a creamy texture and depth that’s hard to beat.
Adding homemade cream to dishes instantly enriches flavor and texture, elevating curries, gravies, and pasta to a new level.
You can also stir homemade heavy cream into soups to add richness without relying on store-bought cream.
If you want to make whipped cream, your fresh cream or butter is perfect for adding a light, fluffy topping.
Follow a simple cream recipe to make whipped cream easily from non-homogenized milk, which separates better. Homemade whipped cream tastes fresher and enhances desserts beautifully.
Remember to use your cream within a week, storing it sealed in the fridge to keep it fresh. This way, you’ll get the best flavor and texture every time.
Frequently Asked Questions
How to Turn Milk Into Cream Quickly?
You can quickly turn milk into cream by melting unsalted butter, mixing it with cold milk, then whisking the mixture until it thickens and forms soft peaks. This creates a fast, homemade cream alternative you’ll love.
How Is Milk Made Into Cream?
You make cream by letting non-homogenized milk sit undisturbed for about 24 hours. The cream rises to the top, and you can skim it off gently with a ladle or similar tool.
How to Turn Milk Into Cooking Cream?
Like catching clouds in a jar, you let whole milk rest 24 hours, skim the thick cream on top, then chill it. For richer cream, blend cold milk with melted butter, simple, creamy magic at your fingertips.
How Do You Make Your Own Heavy Cream at Home?
You melt butter, mix it with cold whole milk, heat gently, then blend until smooth. Chill the mixture for a few hours to thicken. It’s perfect for cooking but won’t whip like store-bought cream.
Conclusion
Now that you know how to make cream from milk in just seven easy steps, you’re all set to whip up something delicious. With a little patience and care, you’ll have fresh, rich cream that’s the cream of the crop for your recipes.
Just remember, practice makes perfect, so don’t be discouraged if it’s not flawless the first time. Keep at it, and you’ll soon enjoy homemade cream like a pro! Making cream with milk can be simple and rewarding when you follow the right steps.