5 Easy Steps to Make Caramel From Sweetened Condensed Milk
To make caramel from sweetened condensed milk, start by gathering your can, butter, and optional vanilla. This simple recipe will guide you through creating rich, creamy caramel perfect for desserts or as a sweet topping.
Place the unopened can in a pot of simmering water, keeping it covered by an inch. Cook slowly on low heat for 30-120 minutes, stirring occasionally for a smooth texture. This gradual cooking process transforms the sweetened condensed milk into luscious caramel.
Once thick and golden, let it cool before storing it in an airtight container. Stick around to discover tips for perfect consistency and flavor enhancements that will elevate your homemade caramel to the next level.
Gather Your Ingredients and Tools

Before you begin making caramel, gather all the ingredients and tools you’ll need. You’ll want a can of sweetened condensed milk as your base. Grab some butter and a pinch of salt to enhance flavor.
Start your caramel journey by gathering sweetened condensed milk, butter, salt, and all essential tools.
If you like, prepare vanilla extract for a subtle aroma. For tools, have a medium saucepan ready and a heatproof bowl for mixing. You’ll also need a whisk or spoon to stir the caramel as it cooks.
A candy thermometer can help you monitor the temperature, but it’s optional if you’re comfortable judging by color and consistency.
Finally, keep a measuring cup or scale handy to ensure accuracy.
Having everything at your fingertips makes the process smooth and helps you focus on perfecting that rich, golden caramel.
Prepare a Water Bath for the Condensed Milk

When you’re ready to start cooking, place the can of sweetened condensed milk in a pot and fill it with enough water to cover the can completely. Make sure the can is upright to prevent any leaking.
The water bath will gently heat the milk, allowing it to caramelize evenly without burning. Check that there’s at least an inch of water above the can; you don’t want the pot to dry out during cooking.
Keep a kettle nearby to add hot water if the level drops. Using a deep pot helps maintain consistent heat and prevents accidents.
This method guarantees the condensed milk cooks slowly and safely, setting you up perfectly for the next step in making smooth, delicious caramel.
Cook the Sweetened Condensed Milk Slowly

With the can securely submerged in the water bath, you can start heating the sweetened condensed milk on a low simmer. Slow cooking is essential to avoid burning and achieve that rich caramel flavor. Keep the heat gentle and consistent, ensuring the water covers the can at all times.
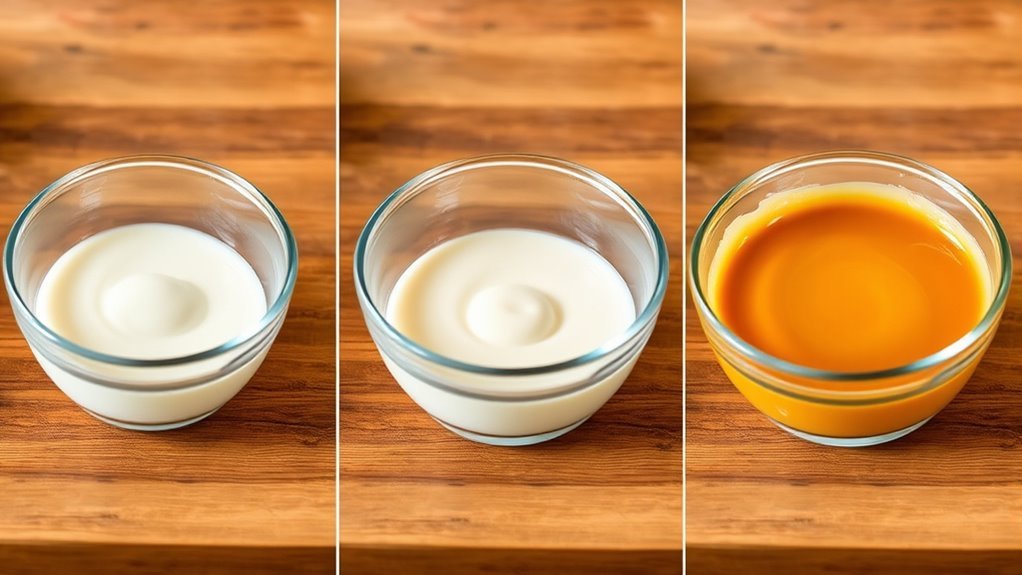
Cooking time varies depending on your stove and water temperature, but patience pays off with a smooth, golden caramel.
| Time Cooked | Color Change | Texture |
|---|---|---|
| 30 minutes | Light golden | Slightly thick |
| 60 minutes | Medium amber | Thick, creamy |
| 90 minutes | Deep caramel | Very thick |
| 120 minutes | Dark amber | Firm, fudge-like |
Monitor progress closely for your perfect caramel consistency.
Stir Consistently to Achieve a Smooth Texture
Although the caramel cooks slowly, you’ll want to stir it consistently to prevent lumps and guarantee a silky smooth texture. Use a wooden spoon or heat-resistant spatula to scrape the bottom and sides of the pan frequently.
This helps distribute heat evenly and stops the milk solids from sticking or burning. Stirring also encourages the sugars to dissolve properly, ensuring a uniform golden color.
Keep your movements steady and gentle. Vigorous stirring can introduce air bubbles, affecting the caramel’s creaminess.
If you notice any thickened spots, focus on those areas but avoid excessive force.
Cool and Store Your Homemade Caramel
After cooking your caramel to perfection, let it cool at room temperature to thicken and develop its rich flavor. Avoid stirring while it cools to prevent crystallization.
Once cooled, transfer the caramel into an airtight container to maintain it fresh. Store it in the refrigerator if you plan to keep it for more than a couple of days; this will extend its shelf life up to two weeks.
When you’re ready to use it, warm the caramel slightly in the microwave or over a double boiler to soften it. Make sure to seal the container tightly after each use to prevent moisture and odors from affecting the caramel.
Proper cooling and storage guarantee your homemade caramel stays smooth, delicious, and ready for your next treat.
Frequently Asked Questions
Can I Use Unsweetened Condensed Milk Instead?
You can’t use unsweetened condensed milk directly for caramel since it lacks sugar. You’d need to add sugar and cook it carefully.
Otherwise, stick with sweetened condensed milk for the best, easiest caramel results.
How Long Does Homemade Caramel Last in the Fridge?
If you store your homemade caramel in an airtight container, it typically lasts about two weeks in the fridge. For example, Sarah kept hers fresh for ten days, enjoying it on toast without any spoilage.
Is It Safe to Cook Condensed Milk Directly in a Pot?
You can cook condensed milk directly in a pot, but you should stir constantly and use low heat to prevent burning or sticking.
Otherwise, it might scorch or boil over, ruining your caramel and making cleanup harder.
Can I Add Flavorings Like Vanilla or Salt?
You can definitely add flavorings like vanilla or salt; in fact, 85% of caramel recipes include vanilla for depth. Just stir them in near the end to boost flavor without altering texture or cooking time.
What Desserts Pair Best With This Caramel?
You’ll love pairing this caramel with apple pie, brownies, or ice cream.
It also works great drizzled over pancakes or stirred into coffee.
Don’t hesitate to get creative and try it with your favorite desserts!
Conclusion
Just like turning simple ingredients into golden caramel, your patience and care transform everyday moments into something sweet and memorable. By following these easy steps, you’ve uncovered the magic hidden in a can of sweetened condensed milk—proof that with a little time and attention, ordinary things can melt into extraordinary delights.
So savor your creation, knowing you’ve crafted more than caramel; you’ve created a delicious symbol of warmth and love. This easy caramel made from sweetened condensed milk is not only a treat but a reminder that simple ingredients and a bit of patience can yield wonderful results. Enjoy your homemade caramel as a sweet addition to any dessert or snack!