How to Make Cream From Milk in 7 Easy Steps
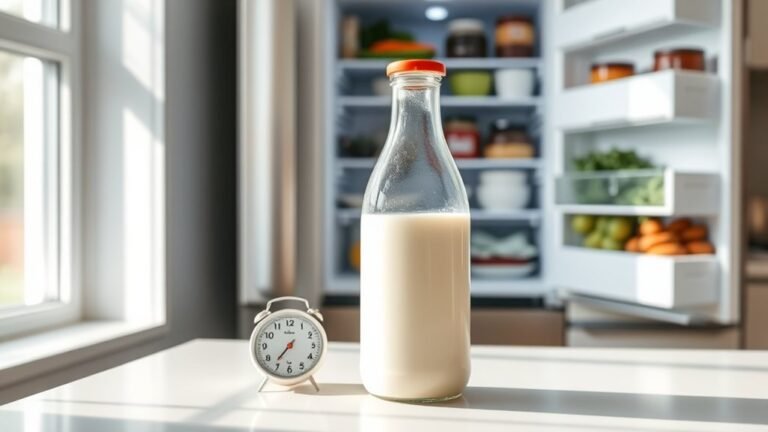
To make cream from milk in 7 easy steps, start by choosing fresh whole milk with at least 3.5% fat. This is important because the fat content allows the cream to separate properly from the milk. Pour the milk into a wide container and let it rest undisturbed in the fridge for 12–24 hours to let the cream rise naturally.
Gently skim the thickened cream off the top using a spoon. Transfer the cream to a sealed jar and store it chilled to keep it fresh. You can chill the cream further for a better texture or use a separator for quicker results.
Keep exploring to find tips that’ll help you perfect your homemade cream. With these simple steps, making cream from milk at home becomes an easy and rewarding process. Enjoy your fresh, homemade cream in various recipes!
Selecting the Right Milk for Cream

Although you can use various types of milk to make cream, choosing whole, unprocessed milk will give you the best results. Whole milk contains a higher fat content, which is essential for rich, thick cream.
Avoid ultra-pasteurized or homogenized milk since these processes break down fat molecules, making it harder to separate the cream.
If you have access to raw milk from a trusted source, that’s ideal because it retains all natural fats. When selecting milk, check the label for fat percentages; aim for at least 3.5% fat.
Freshness also matters—fresher milk produces better cream.
Allowing the Milk to Rest and Separate

Once you’ve chosen the right milk, the next step is to let it rest so the cream can naturally rise to the top. Pour the milk into a clean, wide container to maximize surface area. Cover it loosely to prevent contamination but allow air circulation.
Keep the container in a cool, undisturbed spot, ideally in your refrigerator or a cool pantry. Avoid shaking or stirring the milk during this resting period, as that will mix the cream back into the milk.
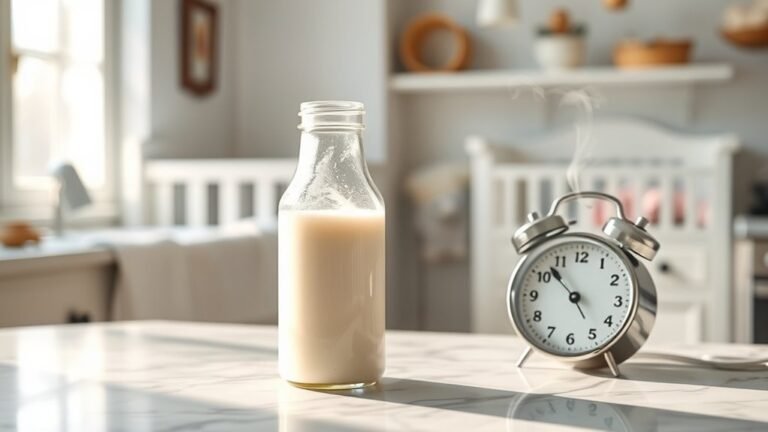
Depending on the milk’s freshness and fat content, this separation can take anywhere from 12 to 24 hours. By patiently allowing the cream to separate, you’re setting the stage for easy extraction later.
This simple step harnesses gravity to concentrate the rich, creamy layer you want.
Skimming the Cream From the Milk Surface

How do you carefully separate the cream from the milk’s surface without disturbing the layers below? First, choose a shallow, wide container where the cream has risen evenly.
Use a clean, shallow spoon or ladle, holding it at a slight angle to gently skim the thick cream layer. Move slowly and steadily, avoiding stirring or mixing the milk underneath.
If the cream feels thin or watery, let the milk rest longer to thicken. Keep your movements steady to prevent breaking the cream layer, which can cause milk to mix back in.
Work in small sections, gradually lifting the cream off. Taking your time here ensures you collect the richest, thickest cream while leaving the milk intact below for other uses.
Collecting and Storing the Skimmed Cream
Where should you place the cream after skimming it to keep it fresh and thick? You want to transfer the cream into a clean, airtight container immediately. This prevents contamination and moisture loss, preserving its texture and flavor.
Store the container in a cool, dark place, ideally your refrigerator, to maintain freshness.
Here’s a quick guide for collecting and storing your skimmed cream:
| Step | Tip |
|---|---|
| Use a clean spoon | Avoid mixing milk back into cream |
| Transfer to airtight container | Glass jars work best |
| Refrigerate promptly | Keep below 40°F (4°C) |
Optional: Chilling the Cream for Better Consistency
After you’ve stored the cream properly, you might want to chill it further to improve its texture. Cooling the cream in the refrigerator for a few hours helps the fat solidify slightly, giving it a thicker, smoother consistency that’s perfect for whipping or cooking.
Chilling cream in the fridge thickens it, making it smoother and ideal for whipping or cooking.
Simply place your container of cream in the fridge, making sure it’s sealed to prevent odors from affecting the flavor.
The cooler temperature encourages the fat molecules to clump together, enhancing the cream’s richness and stability.
Keep in mind, chilling isn’t mandatory, but it does make the cream easier to work with, especially if you plan to whip it into peaks.
Using a Separator for Faster Cream Extraction
Why wait hours for cream to rise when you can speed up the process with a separator? A cream separator uses centrifugal force to quickly separate cream from milk, saving you time and effort.
Simply pour fresh milk into the machine, switch it on, and watch as it spins out the cream and skim milk into separate containers. This method is especially useful if you handle large quantities or want consistent cream quality.
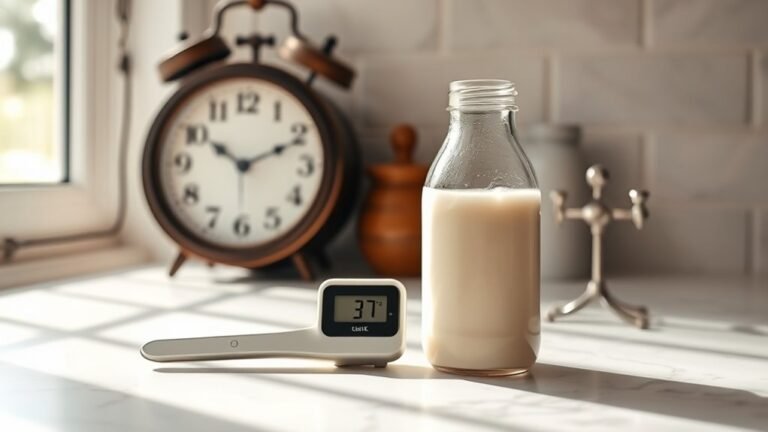
Make sure your milk is fresh and chilled for the best results. Clean the separator thoroughly before and after use to maintain hygiene and performance.
Using a separator is a practical way to get fresh cream fast, allowing you to enjoy homemade cream without waiting for natural separation.
Tips for Fresh Homemade Cream Storage and Usage
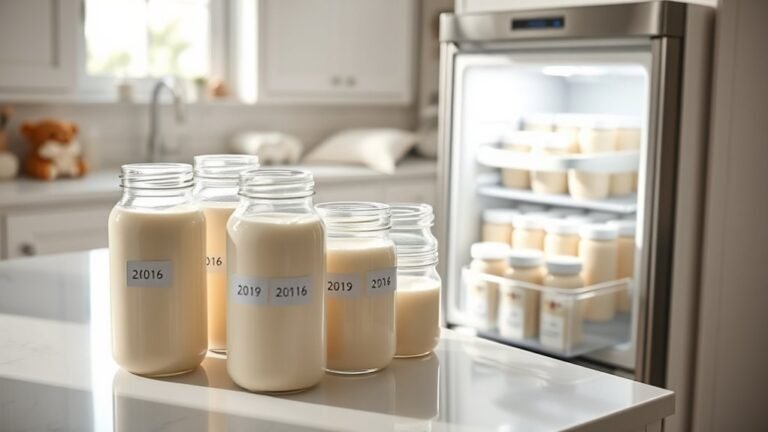
Although fresh homemade cream tastes best when used quickly, proper storage can extend its usability and maintain its quality. Store your cream in a clean, airtight container to prevent contamination and odors from other foods.
Keep it refrigerated at or below 40°F (4°C), where it can last up to 3-5 days. Avoid leaving cream out at room temperature for long periods, as it spoils faster.
Before using, give it a gentle shake or stir to redistribute any separated fat. If you plan to freeze the cream, do so in small portions, since freezing may alter its texture, making it better suited for cooking than whipping afterward.
Always check for off smells or curdling before use to ensure freshness and safety.
Frequently Asked Questions
Can I Make Cream From Non-Dairy Milk Alternatives?
You can’t make traditional cream from non-dairy milk alternatives since they lack fat content like dairy. However, you can whip up creamy substitutes using coconut milk or cashew milk by blending and chilling them for a rich texture.
How Long Does Homemade Cream Last in the Fridge?
Think of homemade cream as a delicate flower, lasting about 3 to 5 days in your fridge. Keep it sealed tight, check for sour smells, and use it quickly before it wilts and loses its freshness.
Can I Whip Homemade Cream Directly After Skimming?
You can’t whip homemade cream immediately after skimming because it’s usually too warm and thin. Chill it in the fridge for a few hours to thicken, then whip it for the best results and fluffy texture.
Is Pasteurized Milk Suitable for Making Cream?
You can use pasteurized milk to make cream, but it might not separate as well as raw milk.
For better results, choose whole milk that’s been chilled thoroughly before skimming to get a thicker cream layer.
What Are Common Uses for Homemade Cream Besides Cooking?
Think of homemade cream as a magic paintbrush. Besides cooking, you can whip it into luscious toppings, blend it into coffee, or create skincare masks.
It’s versatile, nourishing, and adds a creamy touch to everyday moments.
Conclusion
By choosing the right milk and letting it rest, you’ll see the cream rise, and just like that, you skim it off—simple and satisfying.
You store it right, chill it well, and suddenly, homemade cream is ready whenever you want. Whether you use a separator or your patience, the result’s the same: fresh, rich cream that’s yours.
So, go ahead, enjoy the process, and savor the creamy reward you’ve made all by yourself. Making cream from milk is easy and rewarding, giving you fresh cream perfect for cooking, baking, or spreading.