How to Make Cream With Milk in 7 Easy Steps
To make cream with milk, start by using whole, fresh milk for the best fat content. Using whole milk is essential because it contains the necessary fat to create a creamy texture. Chill the milk in a clean container overnight without disturbing it so the cream rises to the top.
Next, whisk the cold milk vigorously to thicken it. Adding a tablespoon of room-temperature fat, like butter or cream, per cup helps improve the richness. Blend the mixture until it becomes smooth and creamy.
Store your homemade cream in an airtight container to maintain freshness. Keep going to discover tips for perfect consistency and storage. This simple method allows you to enjoy fresh cream made right at home.
Choose the Right Type of Milk

Before you begin making cream, you need to choose the right type of milk. Whole milk is your best bet because it contains the highest fat content, which is essential for forming cream. Avoid skim or low-fat milk since they won’t produce enough fat to separate into cream.
If you can find raw or unpasteurized milk, it’s even better, as it naturally separates more easily. However, pasteurized whole milk works fine if raw milk isn’t available.
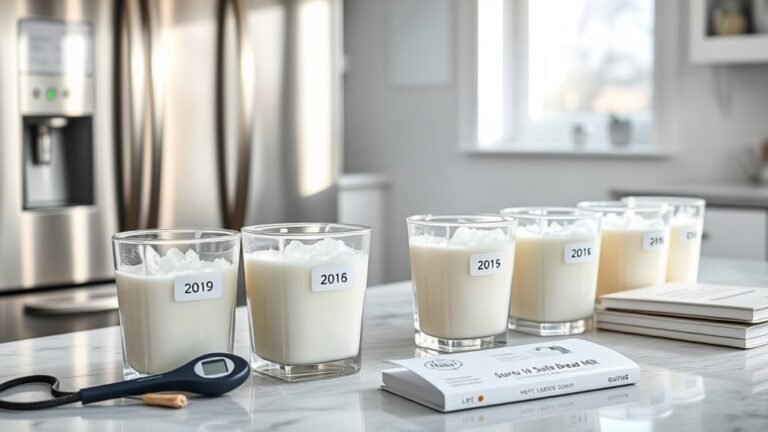
Also, check the milk’s freshness—fresh milk yields better cream.
Avoid ultra-pasteurized milk because the high heat affects the milk’s proteins, making it harder to form cream.
Choosing the right milk ensures you get rich, thick cream in your final product every time.
Gather Additional Ingredients and Tools

Although milk is the main ingredient, you’ll need a few additional items to make cream successfully. Having the right tools and ingredients on hand will make the process smoother and more efficient.
Besides fresh milk, you’ll want to gather a few essentials.
Here’s a quick overview:
| Item | Purpose | Tip |
|---|---|---|
| Heavy-duty bowl | For mixing and chilling | Stainless steel preferred |
| Fine mesh strainer | To separate cream | Use cheesecloth if needed |
| Whisk or mixer | To whip cream if desired | Electric mixer saves time |
Chill the Milk Thoroughly

With your ingredients and tools ready, you’ll want to chill the milk thoroughly to help the cream separate more easily. Place the milk in a clean, airtight container and refrigerate it for at least 12 hours or overnight.
The cold temperature allows the fat in the milk to solidify and rise to the top, forming a distinct layer of cream. Avoid shaking or stirring the milk during this period, as that can mix the fat back into the liquid.
When you’re ready, carefully remove the container from the fridge and inspect the top layer. You should see a thick, creamy layer floating above the milk.
This chilled milk is now primed for the next step in your cream-making process.
Whisk the Milk to Thicken
How do you turn chilled milk into thick, creamy goodness? Start by pouring the cold milk into a large, clean bowl.
Use a hand whisk or an electric mixer on medium speed to beat the milk vigorously.
Your goal is to introduce air and encourage the natural proteins to create a slightly thicker texture.
Whisk continuously for about 5 to 7 minutes, keeping an eye on the consistency.
You’ll notice the milk becoming more opaque and slightly thicker, almost like a light foam.
Be careful not to over-whisk, as this can cause the milk to separate.
Once you achieve this soft, thickened texture, your milk is ready for the next step in making cream.
Whisking is all about patience and steady motion.
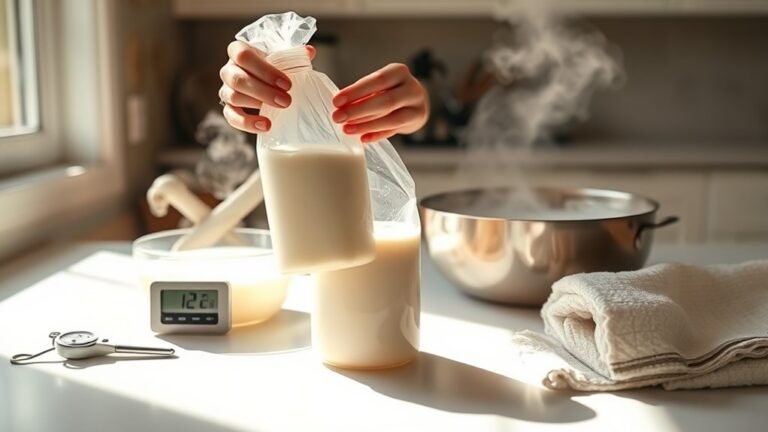
Add a Fat Source to Boost Creaminess
Once your milk has reached that light, thickened stage, the next step is to enhance its richness by adding a source of fat. You can use heavy cream, butter, or even coconut oil depending on your preference.
Start with a small amount, about one tablespoon per cup of milk, and add it gradually. This will help you control the creaminess without making it too heavy. Make sure the fat source is at room temperature to mix smoothly with the milk.
Adding fat not only improves the texture but also gives your cream a luxurious mouthfeel and boosts its flavor. This step is essential if you want your homemade cream to mimic the richness of store-bought varieties.
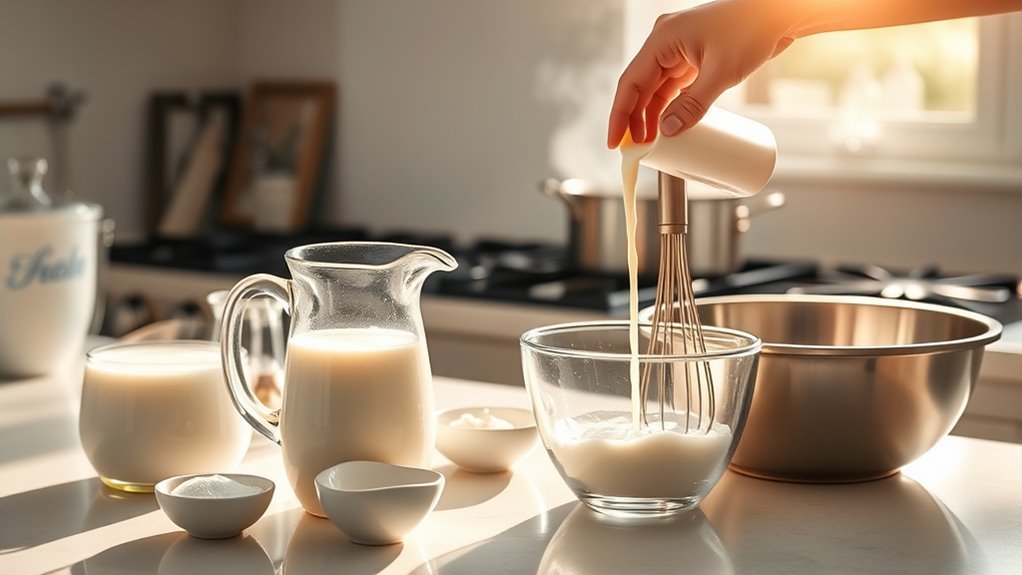
Blend Until the Desired Consistency Is Achieved
As you add fat to your milk, you’ll want to blend the mixture thoroughly to reach the perfect creamy texture. Use a blender or an immersion blender to combine the ingredients evenly. Start on a low speed to prevent splattering, then gradually increase the speed.
Keep blending until the mixture thickens and smooths out, resembling the consistency of store-bought cream. This process usually takes 1 to 3 minutes, depending on your equipment.
If you prefer thicker cream, blend a bit longer, but be careful not to overblend, or it may turn into butter.
Check the texture by stopping the blender and scooping a small amount. If it coats the back of a spoon and holds its shape, you’ve achieved the desired consistency.
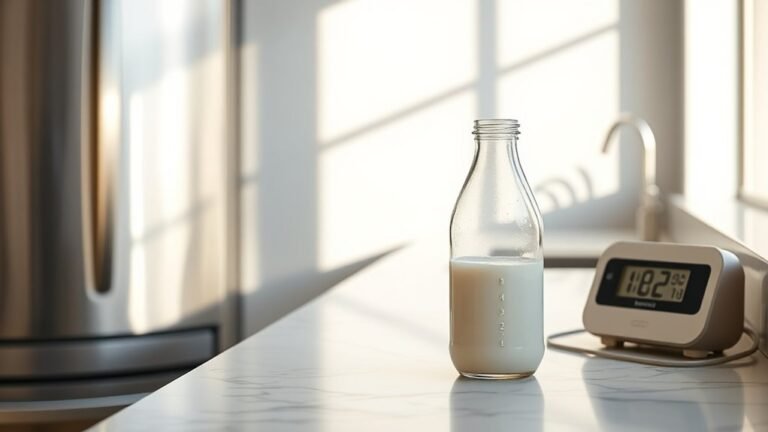
Store and Use Your Homemade Cream
Where should you keep your homemade cream to maintain its freshness? Store it in a clean, airtight container in the refrigerator. This slows bacterial growth and keeps the cream fresh for up to 3-5 days.
Always label the container with the date you made the cream to track its freshness.
When using your homemade cream, give it a quick stir; it may separate slightly. Use it in recipes just like store-bought cream. Add it to coffee, soups, sauces, or desserts.
If you want to whip it, ensure it’s cold and use a chilled bowl for best results. Avoid freezing homemade cream, as it can change texture and separate upon thawing, reducing its quality and usability.
Frequently Asked Questions
Can I Use Non-Dairy Milk to Make Cream?
You can use non-dairy milk to make cream, but it won’t thicken like dairy cream.
Try coconut or cashew milk with added thickener, like agar or cornstarch, for a creamy texture in your recipes.
How Long Does Homemade Cream Last in the Refrigerator?
Your homemade cream lasts about 3 to 5 days in the refrigerator. Keep it in an airtight container and check for any sour smell or separation before using to guarantee it’s still fresh and safe.
Is It Safe to Use Raw Milk for Making Cream?
You can use raw milk for making cream, but it’s riskier due to potential harmful bacteria.
If you choose raw milk, make sure it’s from a trusted source and handle it with strict hygiene to stay safe.
Can I Flavor the Cream During the Whipping Process?
You can absolutely flavor the cream while whipping, like painting a canvas with sweetness or spice. Just fold in vanilla, cocoa, or cinnamon gently as it thickens to create a dreamy, delicious masterpiece.
What Are Common Mistakes to Avoid When Making Cream at Home?
Don’t overwhip your cream or it’ll turn into butter. Avoid using warm cream; keep it chilled. Also, don’t add sugar too early, or the texture might get grainy. Be patient and whip slowly for best results.
Conclusion
Now that you’ve mastered making cream with milk, you’re ready to take your recipes up a notch. Remember, patience is key—good things come to those who wait. By following these simple steps, you’ll create a creamy treat that’s as smooth as silk.
Keep your homemade cream chilled and use it within a few days to enjoy its fresh, rich flavor. You’ve got this—happy whipping! With these easy steps, making cream with milk at home is both fun and rewarding.