How to Make Butter From Whole Milk (Simple Method)
Imagine turning something as simple as whole milk into creamy, fresh butter right in your own kitchen—it’s easier than you might think. How you can make butter from whole milk simply is a process that doesn’t require fancy equipment or complicated techniques.
Just a bit of patience and the right approach are all you need. If you’ve ever wondered how to make butter that tastes better than store-bought, this process will open the door to that possibility.
Let’s explore how you can get started.
Benefits of Making Butter at Home

Although store-bought butter is convenient, making butter at home lets you enjoy a fresher, chemical-free product straight from healthy dairy cows. When you use raw milk to create homemade butter, you gain complete control over ingredients, avoiding stabilizers and additives common in commercial butter.
This control means you can tailor flavors and salt levels exactly to your liking, enhancing taste and quality.
Plus, making your own butter can save money since a quart of cream typically yields about a pound of butter, often at a lower cost than store options.
Beyond cost savings, homemade butter boosts your self-sufficiency, giving you the satisfaction of producing a staple food from scratch. It’s a simple way to enjoy pure, wholesome butter right from your kitchen.
Choosing the Right Cream for Butter

When making butter at home, selecting the right cream is essential to achieving the best texture and flavor. You’ll want to use heavy cream or heavy whipping cream that’s non-homogenized and free from stabilizers like carrageenan.
Raw cream or local, low-heat pasteurized cream is ideal since it offers richer flavor and better yield for your homemade butter. Avoid commercial creams with additives such as polysorbate 80, as they can negatively affect both texture and taste.
Keep your cream cold throughout the process to ensure proper fat separation. Remember, regular milk won’t work because it lacks the fat content needed to make butter.
Choosing quality heavy cream or raw cream sets the foundation for delicious homemade butter every time.
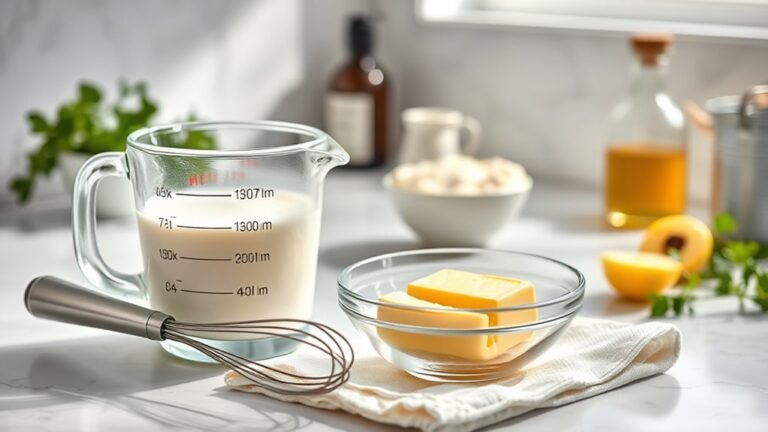
Essential Equipment and Ingredients

Selecting the right cream lays the groundwork for making butter, but having the proper tools and ingredients will make the process smoother and more effective.
Choosing quality cream sets the foundation, while the right tools ensure a seamless butter-making experience.
You’ll need heavy cream, preferably non-homogenized and without stabilizers, since milk alone won’t produce enough butter.
Keep the cream cold throughout to ensure proper separation and prevent spoilage.
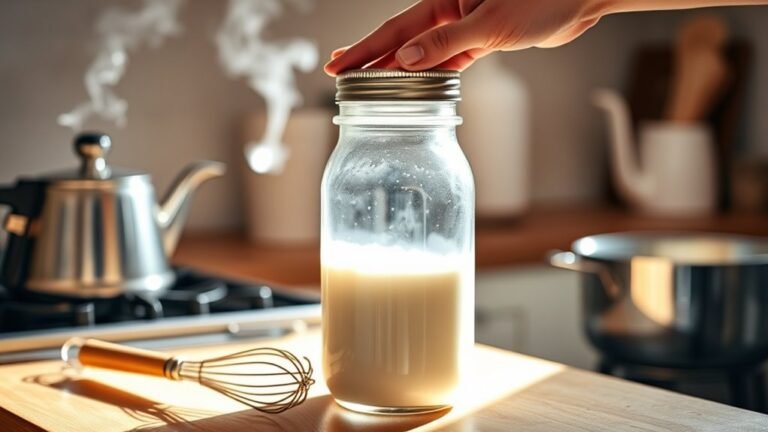
For equipment, a stand mixer with a whisk attachment or a hand mixer works well, though you can also shake the cream in a jar if you prefer.
After whipping, use a colander or strainer to separate the butter from the buttermilk efficiently.
Optional salt lets you customize flavor, but these essentials—heavy cream, cold conditions, and basic equipment—are all you need to get started on your homemade butter journey.
Step-by-Step Butter Making Process
Before you know it, your cold heavy cream will transform as you whip it on high speed, first thickening into whipped cream and then separating into butter and buttermilk within about five to six minutes. Keep whipping until the butter clumps and separates from the buttermilk.
Next, strain the butter, squeezing out excess buttermilk. Rinse the butter under cold water while kneading to remove any leftover buttermilk, preventing spoilage.
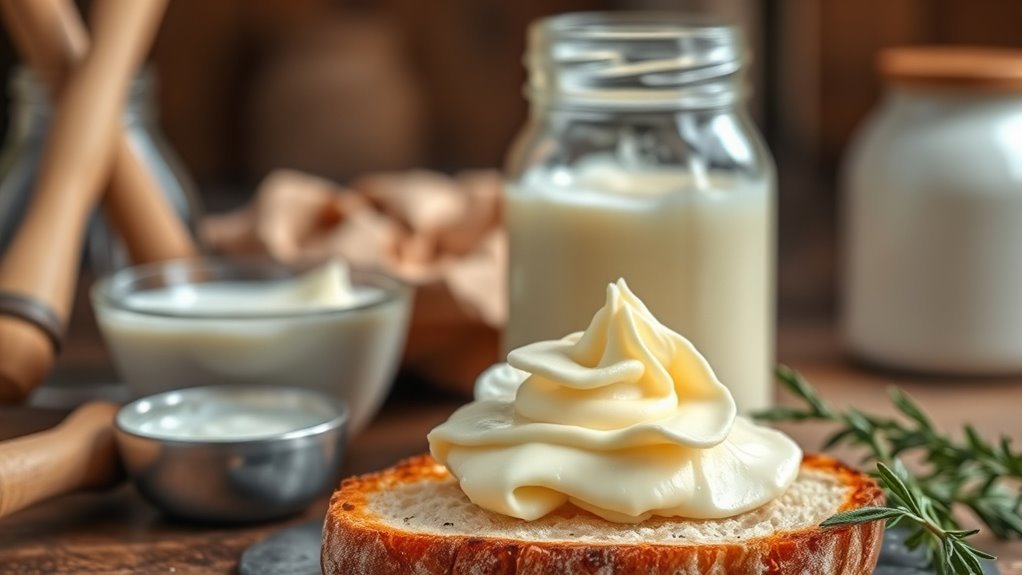
Finally, add salt if you like, shape the butter, and store it properly.
| Step | What to Do |
|---|---|
| 1. Pour | Pour cold heavy whipping cream |
| 2. Whip | Whip on high speed till butter forms |
| 3. Strain | Separate butter from buttermilk |
| 4. Rinse | Rinse butter under cold water |
| 5. Season & Store | Add salt, shape, and store your butter |
Storing and Preserving Homemade Butter
Although homemade butter tastes best fresh, you can keep it fresh much longer by storing it properly. Start by rinsing your butter thoroughly to remove any leftover buttermilk, which helps prevent spoilage.
Then, place the butter in an airtight container like a glass jar or plastic container to block moisture and odors. Keep it refrigerated at or below 40°F (4°C) to maintain freshness for up to a month.
For long-term storage, wrap your homemade butter tightly in parchment paper or plastic wrap and freeze it, extending its life to 3-4 months. Always store your butter away from strong smells and light to avoid absorbing unwanted flavors.
Proper storage guarantees your homemade butter stays delicious and ready to use whenever you want.

Frequently Asked Questions
Can You Make Homemade Butter From Whole Milk?
You can’t make butter directly from whole milk efficiently, but you can separate the cream first. Then, by churning that cream, you’ll turn it into delicious homemade butter with less effort and better results.
How Much Butter Will 1 Gallon of Whole Milk Make?
You won’t get a pound of butter from just one gallon of whole milk, only about 1/4 to 1/3 pound.
How Long to Shake Whole Milk to Make Butter?
You’ll need to shake whole milk for about 10 to 15 minutes by hand until butter forms. Using a blender or mixer cuts it down to around 5 minutes.
Keep going until you see butter clumps separate.
How Do Amish Make Butter?
You grab fresh cream, then churn it rhythmically with a hand-cranked churn until thick.
You knead and wash the butter, feeling its smooth texture, just like the Amish, crafting rich, homemade butter with simple, patient hands.
Conclusion
Making butter at home lets you reconnect with a timeless tradition, much like the simple joys our ancestors cherished. With just whole milk and a little patience, you can transform everyday ingredients into something rich and rewarding.
As you shape your fresh butter, remember—you’re crafting more than food; you’re creating a small piece of history, a taste of comfort that’s truly your own.
Enjoy every creamy, handmade bite and discover how you can make butter from whole milk simply and naturally. This simple process not only enhances your culinary skills but also brings a wholesome touch to your kitchen.