5 Easy Steps to Make Caramel From Sweetened Condensed Milk
Did you know that nearly 60% of home cooks prefer making caramel from sweetened condensed milk because it’s simpler and less time-consuming than traditional methods? Using sweetened condensed milk to make caramel is not only easy but also yields a rich, creamy texture that enhances any dessert.
If you’ve ever wanted to create delicious caramel without the usual fuss, this method might be just what you need. By following a few straightforward steps, you can transform a basic ingredient into a decadent treat.
Let’s explore how you can make caramel from sweetened condensed milk with ease and impress your family and friends.
Gather Your Ingredients

To make this simple caramel, you’ll need just one main ingredient: a 14-ounce can of sweetened condensed milk. Choosing high-quality sweetened condensed milk is essential for the best flavor and smooth texture in your caramel sauce.
Just one main ingredient—high-quality sweetened condensed milk—makes the creamiest, richest caramel sauce.
This easy recipe strips down the ingredients to the basics, focusing entirely on the condensed milk’s natural sweetness and richness. During the cooking process, the milk undergoes caramelization, transforming it into a luscious, golden caramel sauce without needing any extra additives.
Since no other ingredients are required, gathering your ingredients is quick and straightforward, letting you focus on perfecting the caramelization.
With just this one ingredient, you’ll be set to create a delicious caramel sauce that’s both simple and satisfying.
Prepare the Water Bath

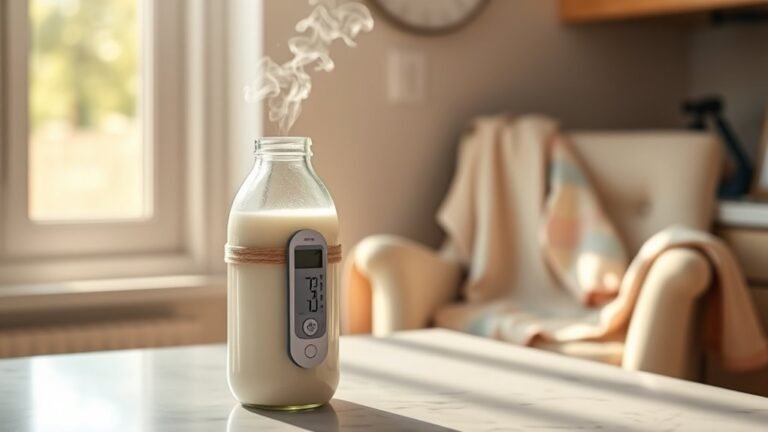
Before you start cooking, make sure your water bath is properly prepared to guarantee even heat distribution around the can. Fill a large, deep pan with enough hot water to cover the unopened can of sweetened condensed milk by about two inches.
Place the can carefully in the water bath, ensuring its level and stability to prevent tipping during cooking. Set your heat to medium or low, bringing the water to a gentle simmer rather than a boil.
Throughout the cooking process, continuously monitor the water level, adding more hot water as needed to keep the can fully covered. Maintaining a steady simmer and proper water level ensures consistent cooking and prevents the can from overheating or drying out.
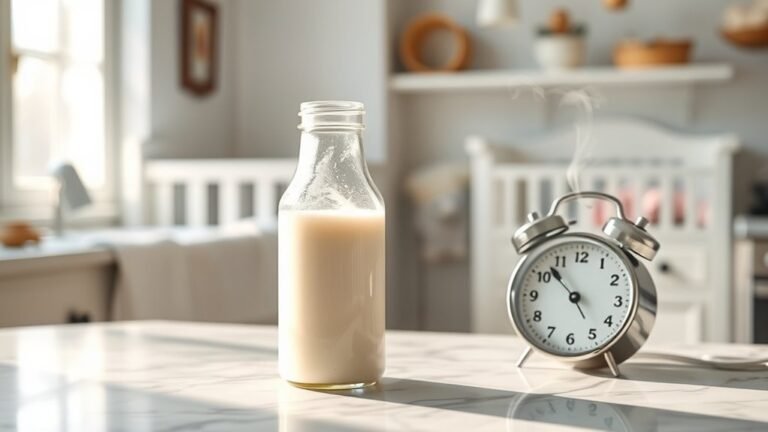
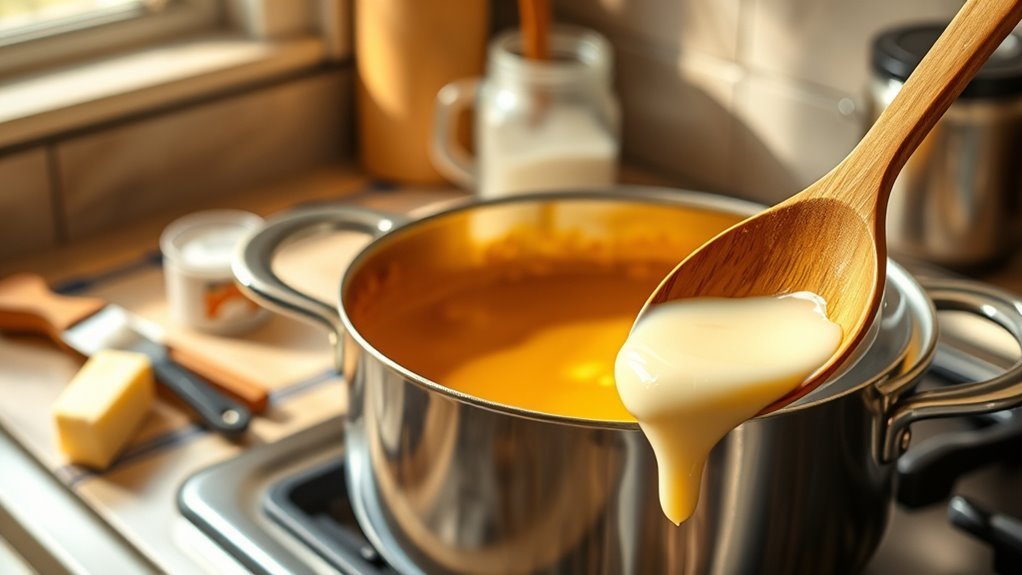
Cook the Sweetened Condensed Milk

Once you place the unopened can of sweetened condensed milk in the pan, bring the water to a gentle simmer over medium or low heat. Make sure the boiling water covers the can by at least 2 inches to fully submerge the can throughout the entire cooking time.
Maintain a steady simmer for about 3 hours, adding hot water as needed to keep the can submerged and prevent burning. Don’t open or puncture the can during this process to avoid hot caramel spilling out and causing accidents.
Stir the water occasionally and carefully monitor its level.
After cooking, use tongs to remove the can and let it cool completely before opening. The cooling process is essential to safely handle the hot caramel inside.
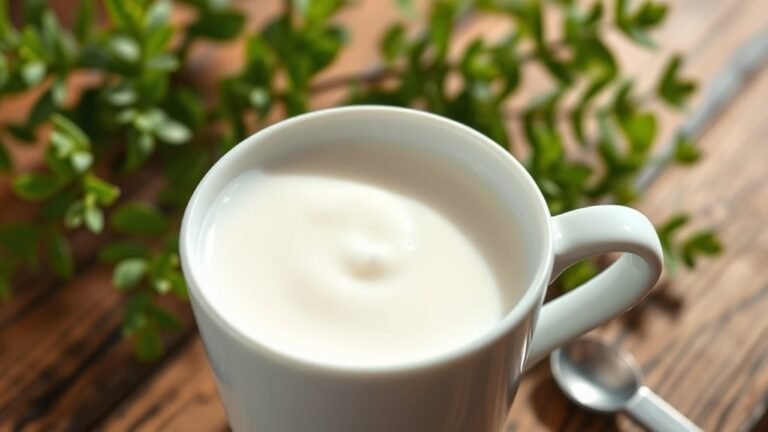
Cool and Blend the Caramel
How long should you wait before handling the caramel? You need to let the baked sweetened condensed milk cool completely at room temperature to avoid burns and splatters.
Once cooled, follow these steps to achieve the perfect texture and consistency:
- Transfer the caramel to a mixing bowl or container suitable for blending.
- Use an immersion blender or regular blender to blend the caramel for 1-2 minutes.
- Blend until the caramel is smooth and creamy, breaking up any crust or solidified layers.
Blending is essential. It transforms the caramel’s texture by reincorporating any crust and creating a uniform, silky sauce. Proper cooling and blending guarantee your caramel has that desirable smooth, creamy consistency every time.
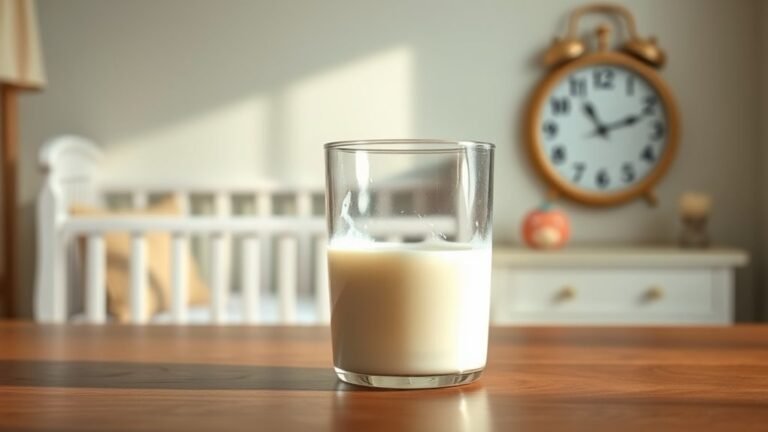
Store and Serve Your Homemade Caramel
Although your homemade caramel tastes best fresh, storing it properly lets you enjoy its rich flavor for weeks. Place the caramel in an airtight container and refrigerate it, where it will keep well for up to three weeks.
Store homemade caramel in an airtight container in the fridge to enjoy its rich flavor for up to three weeks.
To serve, reheat gently in the microwave at 50% power for about 30 seconds to restore its smooth, pourable consistency.
For longer storage, freeze the caramel in a non-glass container for up to three months.
When ready to use, thaw it overnight in the refrigerator. Keeping the caramel chilled helps prevent crystallization or hardening, ensuring it stays silky.
Avoid glass containers in the freezer to prevent breakage and make reheating easier.
Proper storage guarantees your caramel stays delicious and ready to enjoy anytime.

Frequently Asked Questions
How to Turn Condensed Milk Into Caramel Quickly?
You can quickly turn condensed milk into caramel by baking a sealed can in a water-filled pan at 425°F for about an hour.
Let it cool completely before opening to enjoy smooth, golden caramel safely.
How Long Should You Boil Sweetened Condensed Milk for Caramel?
Wondering how long to boil sweetened condensed milk? You should boil it for about 3 hours to get that perfect caramel. Keep water above the can, and don’t rush. Patience turns milk into gold!
How Do You Make Caramel From Condensed Milk in a Slow Cooker?
You place an unopened can of sweetened condensed milk in your slow cooker, cover it with water, set it to high, and cook for about 8 hours. Keep the can submerged and let it cool before opening.
Is It Safe to Boil a Can of Condensed Milk?
Imagine boiling a sealed can, and it suddenly bursts. No, it’s not safe. You shouldn’t boil unopened cans; pressure builds dangerously.
Instead, use safer methods like slow cookers or water baths with opened cans to avoid accidents.
Conclusion
Now that you’ve mastered turning sweetened condensed milk into luscious caramel, you might wonder if the slow simmer really makes a difference. It does—gentle heat guarantees smoothness and prevents burning, confirming that patience truly pays off in candy-making.
With just five simple steps, you’ve created a versatile treat that’s ready to elevate any dessert. Keep experimenting, and you’ll see how this humble ingredient transforms into pure golden indulgence every time.
By following these easy steps, making caramel from sweetened condensed milk becomes a breeze. This method ensures a rich, creamy caramel perfect for drizzling or dipping. Enjoy your homemade caramel and the delicious possibilities it brings to your recipes!