7 Easy Steps to Make Caramel With Condensed Milk
You might not realize that making caramel with condensed milk is surprisingly simple and doesn’t require any special ingredients. By following just a few straightforward steps, you can create a rich, creamy caramel that’s perfect for desserts or as a sweet spread.
This method involves a gentle baking process that transforms the milk’s flavor and texture. If you’re curious about how to achieve this luscious treat with minimal effort, keep going.
Gather Your Ingredients

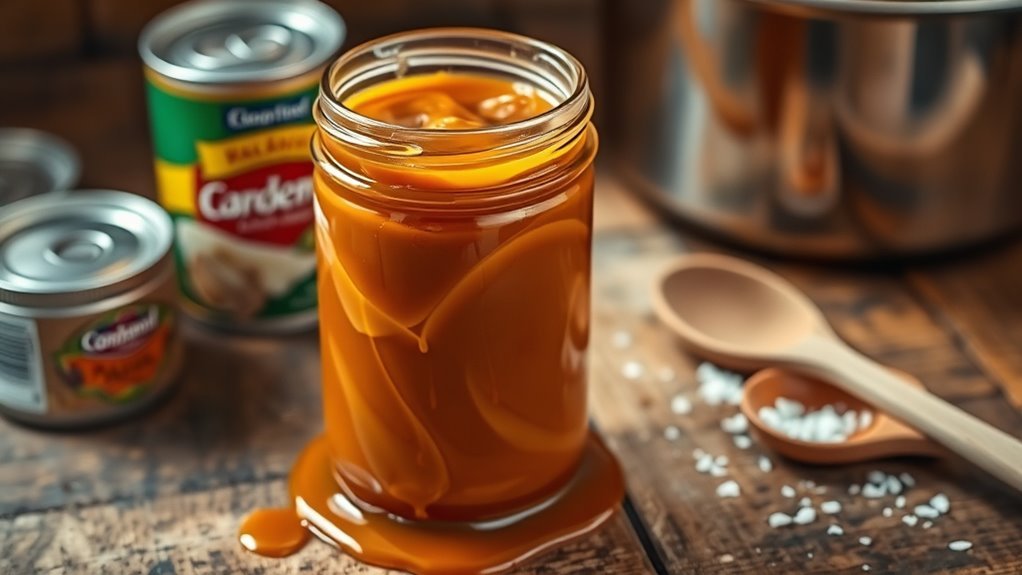
Before you start, gather a 14-ounce unopened can of sweetened condensed milk, which is the only ingredient you need to make this rich caramel. This condensed milk is essential to the recipe, providing that smooth, sweet flavor without any fuss.
You don’t need anything else, no sugar, butter, or cream, just that simple can. You can choose regular or low-fat condensed milk depending on your preference, and either works perfectly.
Remember, the can must be unopened to ensure the caramel cooks evenly and safely.
While the recipe is straightforward, you might want some sliced apples for dipping once your caramel is ready.
But for now, focus on having your condensed milk ready so you can move on and make delicious caramel with ease.
Prepare the Baking Dish

Choose a heatproof baking dish or pie plate that comfortably fits your condensed milk, then pour it in and spread it evenly. Once filled, cover the baking dish tightly with aluminum foil to prevent any water from seeping in during baking.
Next, place the covered dish inside a larger pan or roasting dish to create a water bath. Carefully pour hot water into the outer pan until it reaches about three-quarters of the height of your baking dish.
This water bath ensures even, gentle cooking, preventing the caramel from burning or curdling. Preparing your baking dish this way sets the stage for smooth, creamy caramel and helps you achieve the perfect texture with minimal effort.
Pour Sweetened Condensed Milk

With your baking dish prepared and nestled in the water bath, it’s time to handle the sweetened condensed milk. Start by shaking the can well to evenly distribute the ingredients inside.
Then, remove the paper label completely to avoid any risk of burning or contamination during heating.
Finally, pour the entire unopened can of sweetened condensed milk directly into your heatproof baking dish.
Remember these key points:
- Shake the can thoroughly before opening.
- Remove the label to prevent burning.
- Pour the condensed milk into the dish without opening the can if using the stovetop water method.
This guarantees the sweetened condensed milk will heat evenly in water, preventing scorching and allowing it to transform into smooth caramel without any mess or risk.
Set Up the Water Bath
Since the water bath guarantees even heating, fill a large pot with enough water to cover the unopened can of sweetened condensed milk by 2 to 3 inches. Place the can on its side to prevent rolling and punctures.
Keep the water at a gentle simmer, just below boiling, to avoid sudden bursts. Check the water level often and add hot water to keep the can fully submerged throughout cooking.
Use tongs or a slotted spoon to handle the hot can safely.
| Step | Tip |
|---|---|
| Fill pot with water | Cover can by 2-3 inches |
| Place can sideways | Prevent rolling or puncture |
| Simmer water | Maintain gentle simmer |
Bake Until Golden Brown
Although it takes some patience, baking the sweetened condensed milk at 425°F (218°C) in a water bath covered with foil guarantees it caramelizes evenly into a rich golden brown.
To bake the condensed milk perfectly, follow these steps:
- Place the can in a larger pan filled ¾ full with water to prevent overheating during baking.
- Bake for 60 to 90 minutes, adjusting time based on your oven, until the caramel turns deep golden brown.
- Watch for a crust forming on top, which you can blend in or leave for texture.
This method ensures your condensed milk caramelizes evenly without burning, giving you a smooth, golden brown caramel ready for your favorite recipes.

Cool the Caramel
How long should you let the caramel cool before handling it? Cooling time varies, typically between 30 minutes to several hours depending on the amount and thickness of the caramel.
You should allow it to cool completely in the baking dish to prevent burns and ensure safety. Leaving it at room temperature works, but you can refrigerate the caramel to speed up the cooling process.
Cooling helps the caramel firm up, making it easier to work with.
| Cooling Method | Duration |
|---|---|
| Room Temperature | 1 to 3 hours |
| Refrigerate | 30 to 60 minutes |
| Thick Caramel | Several hours |
| Thin Layer | Around 30 minutes |
| Safety Tip | Handle only when cool |
Always open and handle cooled caramel carefully to avoid burns from residual heat.
Blend for Smooth Texture
When you blend the cooled caramel, you’ll create a silky, uniform sauce free of any lumps or crusts that may have formed during baking.
Using condensed milk as your base, blending transforms this thick mixture into a smooth caramel sauce perfect for drizzling or dipping.
Here’s how to get the best texture:
- Use an immersion or regular blender to process the caramel sauce.
- Blend for 30 seconds to 1 minute until the sauce is glossy and lump-free.
- If a crust formed during cooling, re-blend to fully incorporate it.
This step guarantees your caramel sauce is velvety and pourable, enhancing both appearance and mouthfeel.
Don’t skip blending—it makes all the difference in your final caramel treat.
Frequently Asked Questions
How to Make Condensed Milk Into Caramel Quickly?
You can make caramel quickly by simmering an unopened condensed milk can in water for 2-3 hours, keeping it fully submerged. Then let it cool completely before opening to enjoy rich, smooth caramel safely.
How Long Must You Boil Condensed Milk to Make Caramel?
Picture a knight waiting by his cauldron. You’ll boil condensed milk for 2 to 3 hours to make caramel. Two hours gives you a lighter caramel, while three hours deepens the flavor and thickens the texture perfectly.
Is It Safe to Boil a Can of Condensed Milk?
No, you shouldn’t boil a sealed can of condensed milk because it can explode if not fully submerged or if water evaporates. Instead, use safer methods like an oven water bath or slow cooker for caramel.
How to Turn Condensed Milk Into Caramel Slow Cooker?
You might think turning condensed milk into caramel takes skill, but you just place an unopened can in a slow cooker filled with water. Cook low for hours, then cool and open to reveal rich, golden caramel magic.
Conclusion
Now that you’ve transformed simple condensed milk into luscious caramel, you’re holding a sweet treasure worthy of a fairy tale ending. Like turning pumpkins into carriages, this easy process turns everyday ingredients into liquid gold.
Whether you drizzle it on desserts or savor it by the spoonful, you’ve revealed a little kitchen magic.
So go ahead—indulge in your homemade caramel and let every bite remind you that the simplest ingredients can create the sweetest stories. Making caramel with condensed milk is truly a delightful and easy way to add sweetness to your treats.