How to Melt Milk Chocolate in Microwave in 7 Easy Steps
To melt milk chocolate in your microwave, start by selecting a quality chocolate bar and chopping it into even pieces. Using a dry, microwave-safe glass bowl is essential for the best results.
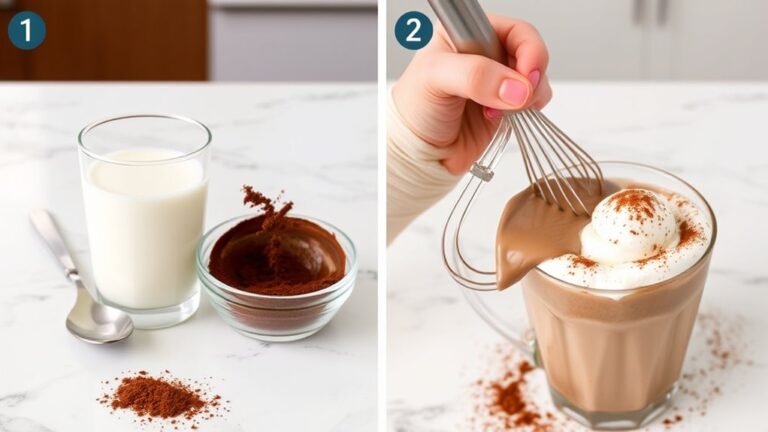
Heat the chocolate at 50% power for 15-20 seconds, stirring thoroughly after each interval to prevent burning. Repeat this process until the chocolate is smooth and glossy.
Once melted, use the chocolate immediately or store it properly for later use. If you want to perfect your technique and avoid common pitfalls, there are a few more helpful tips to explore.
Choose the Right Type of Milk Chocolate

When melting milk chocolate in the microwave, choosing the right type is essential to achieving a smooth, creamy result. You’ll want to pick chocolate with a higher cocoa butter content, as this melts evenly and prevents clumping.
Avoid chocolate chips labeled “baking” or “compound” chocolate since they contain less cocoa butter and more stabilizers, making them harder to melt smoothly. Opt for quality milk chocolate bars or couverture chocolate if you can find them. They melt beautifully and offer a rich flavor.
Also, consider the chocolate’s sugar content; too much sugar can cause graininess when melted.
Finally, chop your chocolate into uniform pieces to ensure even melting. Picking the right milk chocolate sets the foundation for your melting success in the microwave.
Prepare Your Microwave-Safe Bowl

After selecting the perfect milk chocolate, the next step is to get your microwave-safe bowl ready. Choose a bowl made from glass or ceramic, as these materials distribute heat evenly and won’t react with the chocolate. Avoid plastic bowls, which can melt or warp under high heat.
Make sure the bowl is completely dry before use; even a small amount of water can cause the chocolate to seize and become grainy.
Always use a completely dry bowl; even a tiny bit of water can ruin your chocolate’s texture.
Place the bowl on a flat surface inside the microwave to ensure stability during heating.
Using a larger bowl than you think you need helps prevent overflow when stirring.
Taking these precautions sets you up for smooth, evenly melted milk chocolate every time without any mishaps.
Chop the Chocolate Into Even Pieces

Since chocolate melts more evenly when broken down, chop your milk chocolate into small, uniform pieces before microwaving. This helps prevent burning and guarantees smooth melting. Use a sharp knife and a stable cutting board for safety and control. Aim for pieces about the same size to allow consistent heat distribution.
Keep these tips in mind:
- Use a serrated or chef’s knife for cleaner cuts.
- Avoid chunks that are too large or irregular.
- Cut slowly and carefully to avoid slipping.
- Collect all pieces to avoid missing any during melting.
- Store leftover pieces in an airtight container for future use.
Chopping evenly sets you up for a hassle-free melting process and silky-smooth chocolate every time.
Microwave the Chocolate in Short Intervals
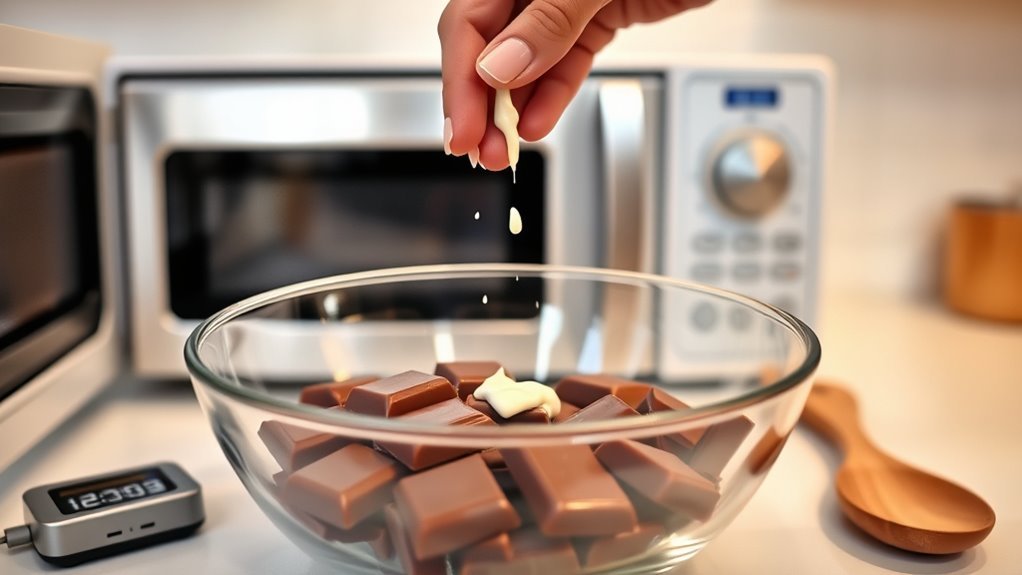
Once you’ve chopped the chocolate into even pieces, it’s time to start melting it carefully in the microwave. Place the chocolate in a microwave-safe bowl and set your microwave to medium power or 50%.
Microwave the chocolate for just 15 to 20 seconds at a time. Heating in short bursts prevents the chocolate from burning or seizing, which can happen quickly with milk chocolate due to its sugar and milk content.
Heat chocolate in short 15-20 second bursts to avoid burning or seizing, especially with milk chocolate’s delicate ingredients.
After each interval, check the chocolate’s progress. If it’s not melted enough, continue microwaving in 10 to 15-second increments.
This cautious approach gives you control over the melting process and guarantees smooth, creamy chocolate.
Avoid rushing the melting, or you risk ruining the texture and flavor of your milk chocolate.
Stir Thoroughly Between Each Interval
While melting milk chocolate in the microwave, you’ll want to stir it thoroughly between each interval to guarantee even heat distribution and prevent scorching. Stirring breaks up any hot spots and helps the chocolate melt smoothly without burning.
Use a spatula or spoon to mix the chocolate gently but thoroughly. This keeps the texture silky and prevents lumps from forming.
Keep these tips in mind when stirring:
- Scrape the sides and bottom of the bowl
- Stir slowly in circular motions
- Avoid whipping air into the chocolate
- Use a heat-resistant spatula for best results
- Stir until the chocolate looks glossy and uniform
This simple step ensures your milk chocolate melts perfectly every time.
Check the Chocolate’s Consistency
After stirring thoroughly, take a moment to check the chocolate’s consistency. It should be smooth, glossy, and free of lumps. If you notice any unmelted pieces, continue microwaving in short 10- to 15-second bursts, stirring well after each interval.
Check for smooth, glossy chocolate; microwave in short bursts if lumps remain, stirring thoroughly each time.
Avoid overheating, as milk chocolate can seize or burn easily, becoming grainy or dry. The ideal texture is thick but pourable, perfect for dipping, drizzling, or mixing into recipes.
If the chocolate seems too stiff, a quick stir can help distribute the heat evenly and melt remaining chunks. Keep an eye on the color too; it should be uniform without any signs of scorching.
Once smooth, your milk chocolate is ready for the next step in your recipe.
Use or Store the Melted Chocolate Properly
When you’ve achieved a smooth, melted consistency, use the chocolate immediately to guarantee the best texture and flavor.
If you need to store it, cool it quickly by spreading it thin on parchment paper and refrigerate in an airtight container.
Avoid reheating multiple times, as this can cause the chocolate to seize or become grainy.
Here are some tips to help you use or store melted milk chocolate properly:
- Use melted chocolate within 30 minutes for best results.
- Cover it with plastic wrap to prevent skin formation.
- Store leftovers in a cool, dry place or refrigerate briefly.
- Reheat gently in short bursts of 10-15 seconds.
- Avoid moisture contact to prevent chocolate from seizing.
Following these steps guarantees your chocolate stays smooth and ready for your recipes.
Frequently Asked Questions
Can I Melt Milk Chocolate With Nuts in the Microwave?
Yes, you can melt milk chocolate with nuts in the microwave. Just heat it in short bursts, stirring frequently to prevent burning and guarantee even melting without damaging the nuts’ texture or flavor.
How Long Can Melted Milk Chocolate Be Stored in the Fridge?
You can store melted milk chocolate in the fridge for up to two weeks.
Just keep it in an airtight container to prevent moisture and odors from affecting its texture and flavor.
Is It Safe to Microwave Chocolate in Plastic Containers?
You shouldn’t microwave chocolate in plastic containers unless they’re microwave-safe. Some plastics can melt or release harmful chemicals.
Use a glass or ceramic bowl instead to keep your chocolate safe and your microwave clean.
Can I Add Milk to Milk Chocolate Before Melting It?
You shouldn’t add milk before melting milk chocolate because it can seize and become grainy. Instead, melt the chocolate first, then stir in warm milk or cream gradually for a smooth, creamy texture.
What Is the Difference Between Melting Milk and Dark Chocolate?
Imagine you’re melting chocolate for brownies; milk chocolate melts creamier due to higher sugar and milk content, while dark chocolate melts more intensely with less sugar.
You’ll notice milk chocolate is smoother and sweeter when melted.
Conclusion
Melting milk chocolate in your microwave is like opening a sweet treasure chest—each step carefully reveals the smooth, glossy gold inside. By choosing the right chocolate, chopping it evenly, and stirring with patience, you transform simple pieces into a velvety river of delight.
Treat this melted magic with care, whether you use it immediately or save it for later. Remember, every melt is a small celebration of warmth and sweetness you create yourself. Mastering how to melt milk chocolate in the microwave ensures you enjoy a perfect texture for dipping, drizzling, or baking every time.