How to Make Buttermilk Out of Milk in 7 Easy Steps
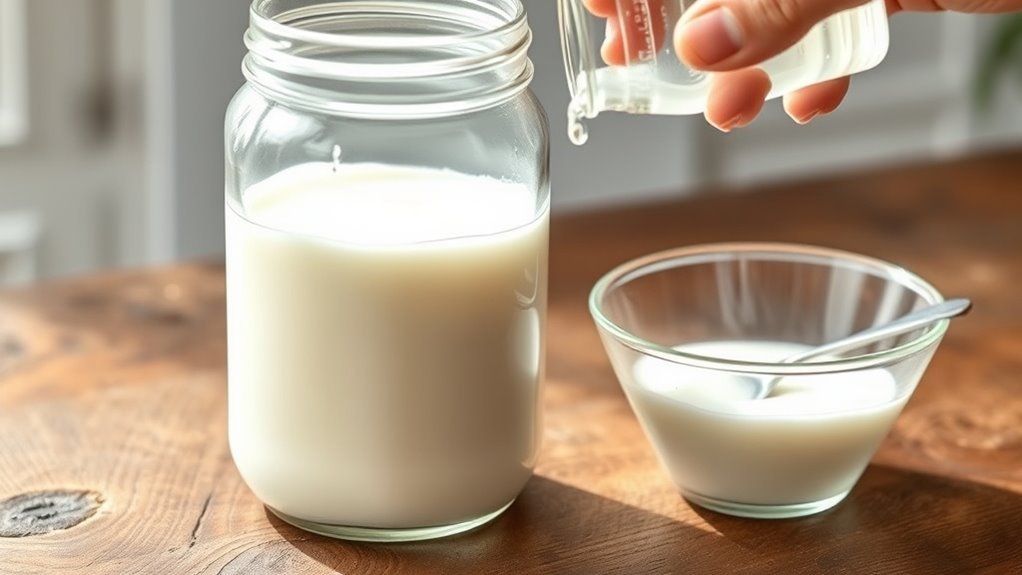
To make buttermilk from milk, start by adding 1 tablespoon of lemon juice or vinegar to a measuring cup. Then, fill it with milk until you reach 1 cup total and stir gently.
Let the mixture sit for 5 to 10 minutes until it thickens and small curds form. You’ll notice a tangy smell and slightly lumpy texture, signaling it’s ready to use.
Keep going to discover tips for using and storing homemade buttermilk. It’s super easy to whip up your own buttermilk at home, and it’s perfect for baking, cooking, or even adding a little zing to your recipes!
Key Takeaways
- Combine 1 tablespoon of lemon juice or vinegar with milk to make 1 cup total in a measuring cup. Stir the milk and acid mixture gently until fully blended for proper curdling.
- Let the mixture sit undisturbed for 5 to 10 minutes to allow curdling and thickening. You’ll start to notice small curds forming, along with some cloudiness and a tangy aroma.
- These are signs that your buttermilk is ready to use. Feel free to use any type of milk you have on hand, whether it’s dairy or plant-based, to make this homemade buttermilk substitute.
Ingredients And Tools For Homemade Buttermilk
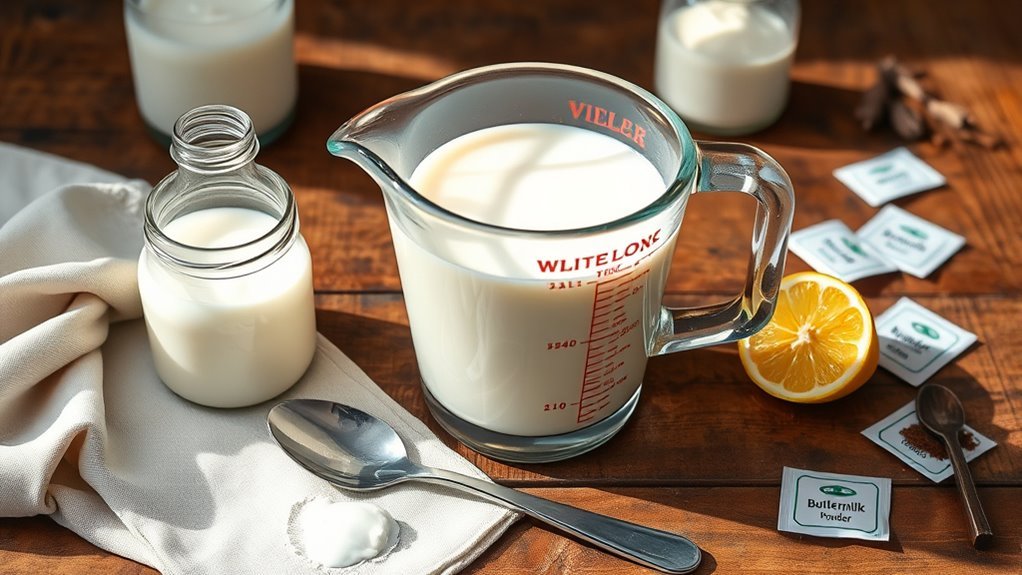
What ingredients and tools do you need to make homemade buttermilk? You’ll need 1 cup of milk—whole, 2%, or even heavy cream works well. For the acid, choose either 1 tablespoon of lemon juice or white vinegar.
If you don’t have these, cream of tartar or yogurt can also be used to customize your buttermilk. Grab a measuring cup to measure both the milk and acid precisely. A small bowl or the measuring cup itself will do for combining and stirring the ingredients thoroughly.
You can even use plant-based milk as a non-dairy alternative, just add the acid in the same proportion. These simple ingredients and tools set you up perfectly to make fresh, tangy buttermilk at home.
Mixing Milk And Acid To Make Buttermilk
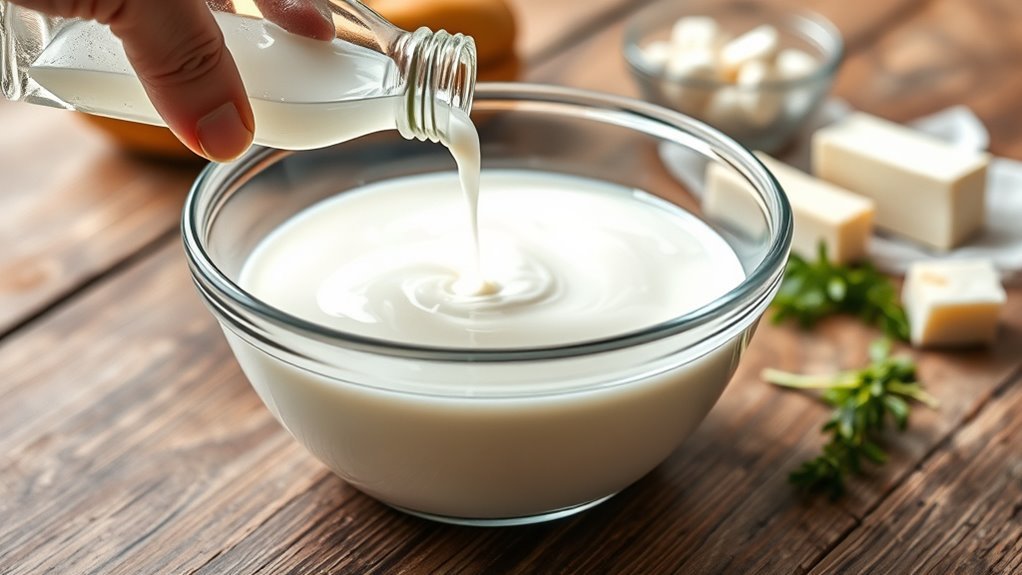
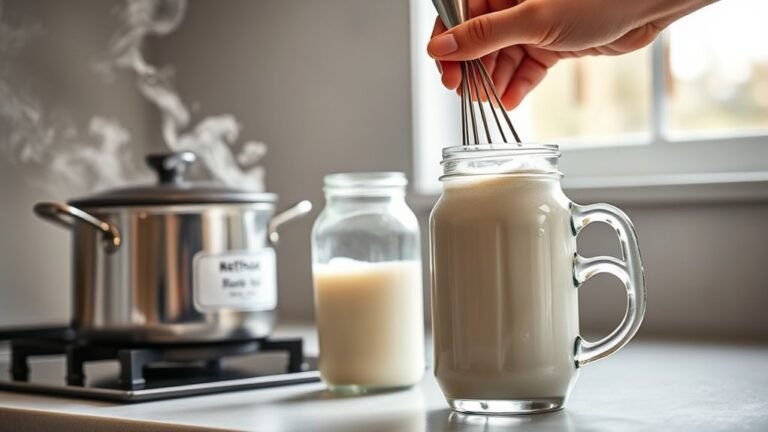
Now that you have your milk and acid ready, it’s time to combine them to create homemade buttermilk. Start by adding 1 tablespoon of lemon juice or white vinegar to a measuring cup.
Then, fill the rest of the cup with milk—whole, 2%, or even heavy cream—until you reach 1 cup total. Stir the acid mixture gently until everything’s well combined.
This acid mixture will help the milk curdle slightly, mimicking the tangy flavor and texture of buttermilk. Your homemade buttermilk substitute will be ready to use in recipes that call for buttermilk.
Mixing milk and acid is a simple and effective way to create a perfect buttermilk substitute without needing to buy it separately. Easy, right?
Why You Need To Let Homemade Buttermilk Sit
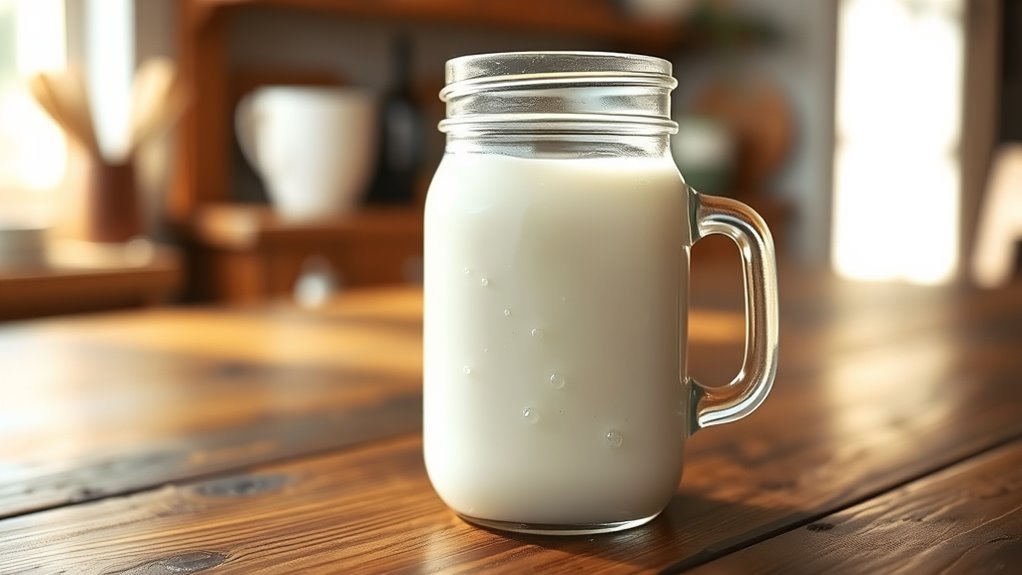
Why should you let your homemade buttermilk sit before using it? When you mix milk with an acid like lemon juice or vinegar, you need to let the mixture sit for about 5 to 10 minutes.
This resting period lets the acid fully curdle the milk, creating small curds that give homemade buttermilk its tangy texture. Without this time, the reaction between acid and milk proteins won’t complete, and your substitute won’t work as well.
Letting the mixture rest also makes sure the proper acidity develops, which is super important for leavening in baking. If you skip this step, you might miss out on the right consistency and tanginess, which affects both flavor and texture in your recipes.
Is Your Homemade Buttermilk Ready? Signs To Watch For
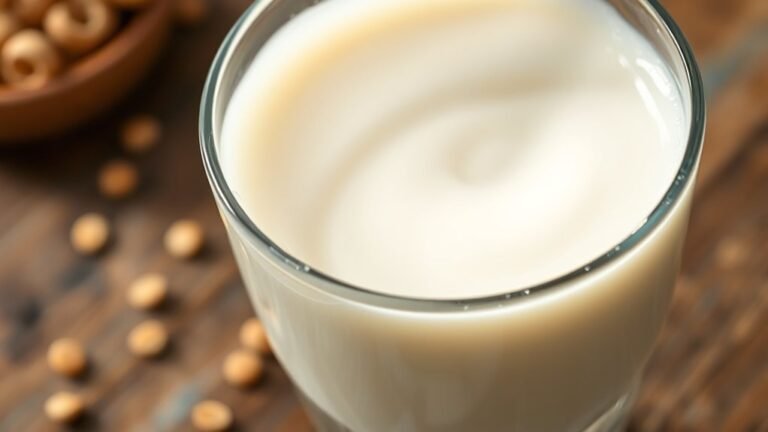
You’ll know your homemade buttermilk is ready when you see small curds forming and the mixture thickens slightly. It should look cloudy or lumpy, with a tangy smell similar to store-bought buttermilk.
Once these signs appear, your buttermilk is good to use right away. Just give it a quick stir before you add it to your recipe. Easy, right?
Visual Curdling Indicators
Although it might take some patience, you can tell your homemade buttermilk is ready when you see small curdled bits forming and the mixture thickens slightly. Look for visible curdling or separation in the milk, which means the acid has done its job.
The mixture should appear slightly cloudy with tiny clumps or curds scattered throughout, signaling the proper reaction. You might also notice a tangy smell—this fresh, sour scent confirms the buttermilk is prepared.
Avoid expecting a completely solid or overly thick texture; instead, focus on the presence of small curdled bits and a mildly thickened, cloudy appearance. These visual cues will help you know exactly when your homemade buttermilk is ready to use in your recipes.
Texture and Consistency
When your homemade buttermilk thickens slightly and small curdled bits appear, it signals that the mixture is ready. You’ll notice the texture and consistency become more viscous than plain milk, similar to a thin yogurt.
Look for these signs to confirm readiness:
- The milk has thickened just enough with visible curdled bits scattered throughout.
- The mixture separates slightly, with a thicker layer on top and a thinner liquid below.
- Stirring creates a uniform, tangy liquid dotted with small curds, indicating proper acidity.
Pay attention to these texture cues—they’re your best indicators that your homemade buttermilk has developed the right consistency and is perfect for use.
Timing and Readiness
Noticing the changes in texture is your first clue that the homemade buttermilk is nearly ready. Within 5 to 10 minutes of waiting time, the mixture should thicken slightly, and you’ll see small curdled bits forming.
These signs of curdling indicate the milk’s acidity has developed enough for baking purposes. To check readiness, gently swirl or stir the mixture—if it still looks completely smooth without any separation, give it a few more minutes.
You’ll know it’s ready when the mixture has a tangy aroma and a visibly curdled appearance. There’s no need to wait longer once these signs appear; your homemade buttermilk has reached the perfect balance of acidity and texture for your recipes.
How To Use Homemade Buttermilk In Recipes
Wondering how to make the most of your homemade buttermilk? It’s a versatile ingredient that can elevate many recipes with its tangy flavor and acidity.
Here’s how you can use it effectively:
- Baking Magic: Use homemade buttermilk as a perfect substitute for store-bought buttermilk in recipes like pancakes, biscuits, and muffins. Its acidity activates leavening agents like baking soda, helping your baked goods rise light and fluffy.
- Leavening Agent Boost: Incorporate it in recipes that require acidity for proper rise, such as soda bread or specific cakes. This ensures consistent, tender results every time.
- Flavor Enhancer: Add homemade buttermilk to marinades for chicken or fish. It not only imparts a tangy flavor but also tenderizes the meat beautifully.
Got leftovers? Keep them refrigerated and try to use within 3-4 days for the best taste and effect.
Dairy-Free And Vegan Buttermilk Substitutes
Looking for a dairy-free way to enjoy the tangy flavor and baking benefits of buttermilk? You can easily make vegan buttermilk by mixing 1 tablespoon of vinegar or lemon juice with 1 cup of plant-based milk, like almond, soy, or coconut milk.
Let the mixture sit for about 5 minutes until it curdles and develops that signature tangy taste. This simple dairy-free substitute mimics traditional buttermilk’s acidity, making it perfect for baking and cooking.
For a creamier texture, try using thicker plant-based milks such as coconut or cashew milk. This vegan buttermilk works well in all recipes calling for buttermilk, allowing you to maintain flavor and texture while sticking to a dairy-free lifestyle.
Storing And Freezing Homemade Buttermilk
How long can you keep homemade buttermilk fresh? You can store it in an airtight container in the refrigerator for 3-4 days. If you want to keep it longer, freezing is a great option.
Here’s how to handle storing and freezing homemade buttermilk:
- Store homemade buttermilk in an airtight container to maintain freshness and prevent odors.
- To freeze, pour buttermilk into ice cube trays, then transfer the frozen cubes to a resealable bag. Label and date it for up to 3 months.
- Thaw frozen buttermilk in the refrigerator overnight and shake or stir well before using. Freezing may change texture slightly, but it’s perfect for baking and cooking.
Following these steps guarantees you always have homemade buttermilk on hand. Easy, right?
Frequently Asked Questions
How to Make Buttermilk From Milk Quickly?
You quickly make buttermilk by adding 1 tablespoon of lemon juice or vinegar to a cup of milk. Stir, let it sit for 5-10 minutes until it thickens, then use it immediately in your recipes.
How to Make Buttermilk Step by Step?
Like planting a seed, start by adding one tablespoon of lemon juice or vinegar into a cup. Pour milk up to the mark, stir gently, then wait 5–10 minutes for it to thicken and curdle.
How to Make Buttermilk the Old Fashioned Way?
You let raw milk naturally ferment at room temperature for 12-24 hours until it thickens and develops a tangy taste. This old-fashioned buttermilk has a rich, cultured flavor perfect for baking or cooking.
Can You Make Buttermilk Out of Whole Milk?
Yes, you can make buttermilk from whole milk by adding lemon juice or vinegar. Let it sit for 5-10 minutes until it thickens and curdles slightly. Use it immediately for baking or cooking recipes.
Conclusion
Now that you know how to make buttermilk at home, you’re ready to add that tangy twist to your recipes anytime. Just mix, wait, and watch it transform, like magic unfolding in a glass.
Whether you’re baking or cooking, homemade buttermilk gives your dishes that perfect balance of flavor and texture. It’s a simple ingredient that can really elevate pancakes, cakes, dressings, and more.
Keep experimenting with your homemade buttermilk, and don’t forget to store it properly in the fridge. This way, you can enjoy that fresh, tangy taste again and again whenever you need it. Making buttermilk from milk is easy, cost-effective, and a great way to enhance your cooking adventures!