7 Steps to Make Heavy Whipped Cream Using Milk
To make heavy whipped cream using milk, start with fresh, full-fat milk and high-quality unsalted butter. These two ingredients are key to getting that rich, creamy texture you want. Melt the butter gently so it blends smoothly without breaking.
Then, slowly mix the melted butter into warm milk for a smooth, even blend. It’s important to chill this mixture before you whip it—this helps the cream thicken properly.
Use a chilled bowl and beaters to get the best results when whipping.
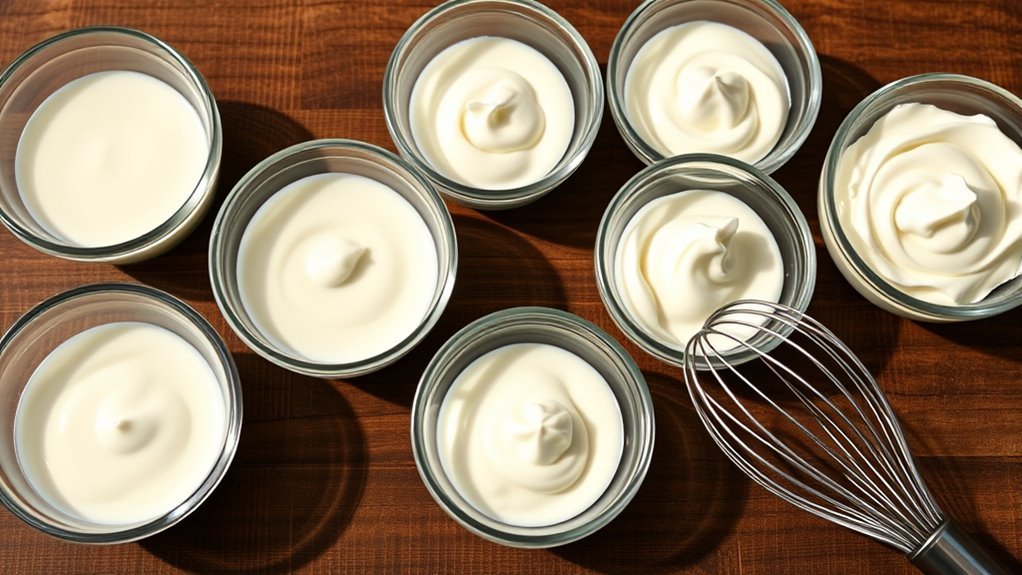
Whip on high speed until soft peaks form—that’s when your cream holds its shape but is still fluffy. Once done, store your heavy whipped cream in the refrigerator and use it within a few days for the freshest flavor.
Follow these simple steps closely, and you’ll discover how to make heavier, fluffier whipped cream using just milk and butter!
Key Takeaways
- Use fresh whole milk with at least 3.25% fat and high-fat unsalted butter for the best whipping results.
- Slowly melt butter and gradually whisk it into warm milk to create a smooth, creamy emulsion.
- Blend the cooled mixture in a high-speed blender for 3–4 minutes until thick and creamy like heavy cream.
- Chill the mixture and utensils thoroughly before whipping to achieve stable, fluffy soft peaks.
- Whip on high speed until soft peaks form, adding sugar or vanilla if you want. Just be careful not to over-whip.
Picking the Best Milk and Butter for Homemade Cream
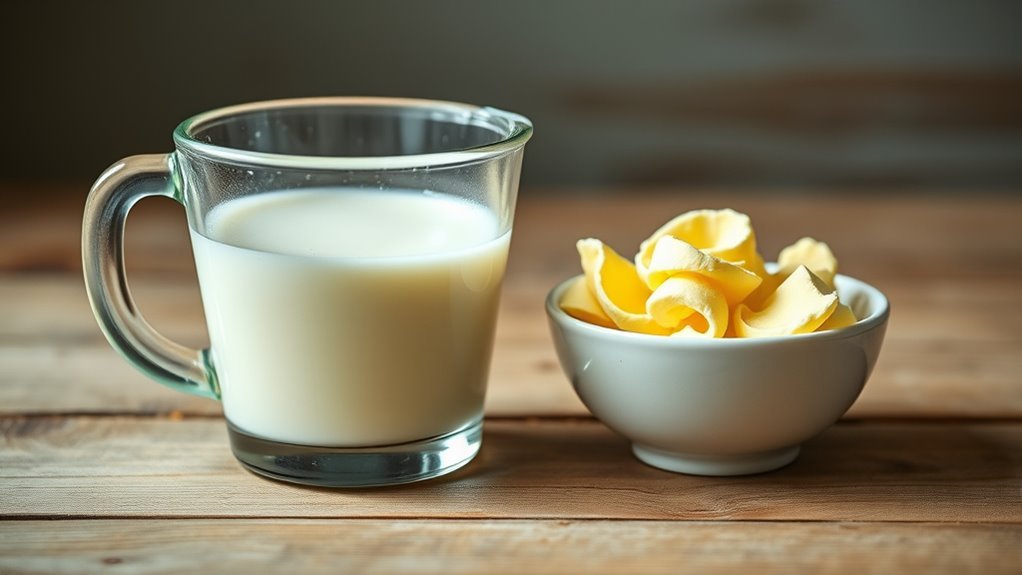
When you’re making homemade heavy whipped cream, selecting the right milk and butter is essential. You should opt for high-quality, fresh whole milk with at least 3.25% fat content to guarantee richness and creaminess.
Avoid low-fat or skim milk since they don’t have enough fat to achieve that whipped texture. For the butter, unsalted butter is your best choice because it lets you control the saltiness and keeps the flavor pure.
Make sure the butter has a high fat content, which helps create a better emulsion with the milk. This results in a smoother, creamier consistency.
Whether your butter is at room temperature or melted, it needs to be fully incorporated into the milk mixture to blend perfectly. That way, you get homemade cream that rivals store-bought versions.
How to Melt Butter Without Overheating
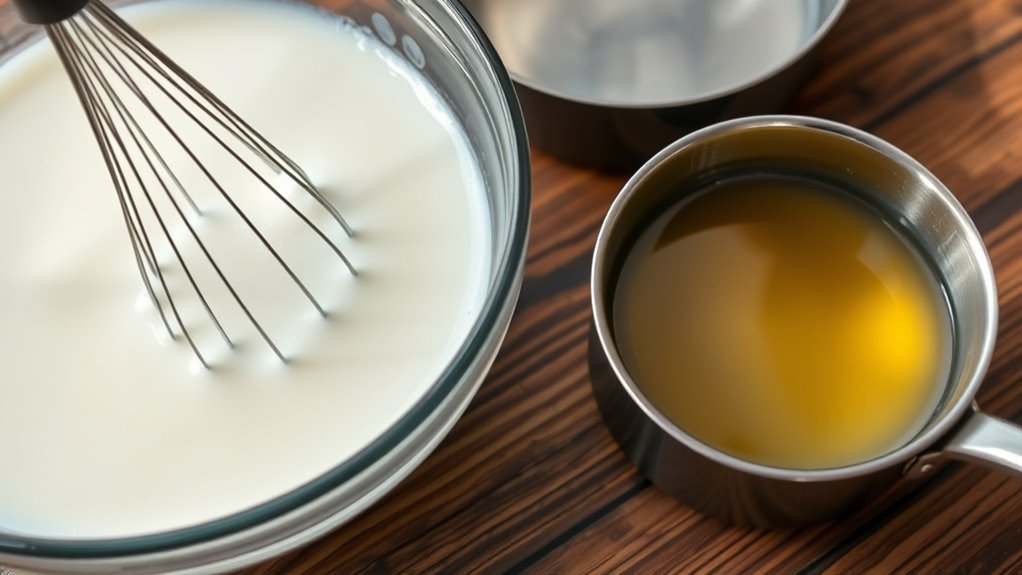
Selecting high-quality unsalted butter sets you up for success, but melting it properly guarantees your homemade cream turns out smooth and creamy. Avoid overheating to keep the butter’s texture just right.
Here’s how you can melt butter without any issues:
- Melt butter slowly over medium heat in a saucepan, preventing it from boiling or browning.
- Use a microwave at 50% power in short 10-15 second bursts, stirring between each to ensure even melting.
- Remove as soon as the butter is smooth and fully melted, with no bubbling or foam.
After melting, let the butter cool slightly before using it. Cooling prevents the butter from cooking the milk and stops separation.
This step helps preserve the ideal consistency for your cream.
Mix Melted Butter With Warm Milk
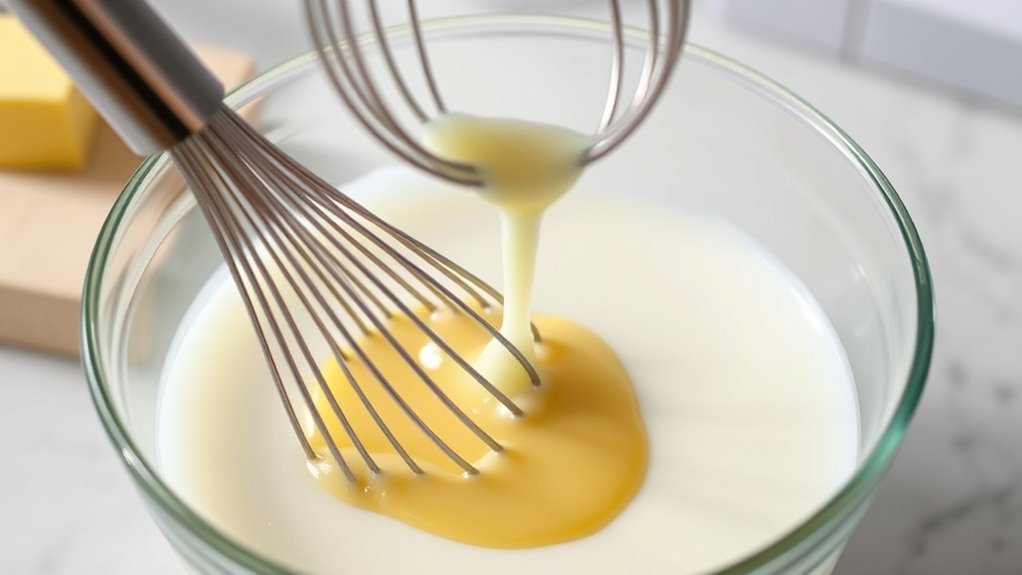
Now that you’ve melted the butter carefully, it’s time to combine it with warm milk for the perfect blend. Make sure to mix them thoroughly so the butter disperses evenly throughout the milk.
This step is key to creating a smooth emulsion that whips up just like heavy cream. It’s easier than you think, and totally worth the effort!
Butter Melting Techniques
Although it might seem simple, melting butter correctly and combining it with warm milk requires careful attention to prevent separation. Start by choosing unsalted butter for better control over flavor.
Melt the butter gently over medium heat, avoiding boiling or browning, which can affect texture and taste. When blending, pour the hot melted butter slowly into the warm milk, stirring constantly to create a smooth emulsion.
Keep these tips in mind during butter melting and mixing:
- Use a silicone spatula to thoroughly blend the butter and milk.
- Stir continuously while adding melted butter to maintain consistency.
- Allow the mixture to cool to room temperature before refrigerating or further use.
This careful butter melting and cooling process guarantees a stable mixture for your heavy whipped cream.
Combining Butter And Milk
Start by melting 5 tablespoons of unsalted butter over medium-high heat until fully liquid. Meanwhile, heat ⅔ cup of whole milk until warm but not boiling, then remove it from the heat.
Pour the melted butter into the warm milk and stir thoroughly to combine. Keep stirring until the butter fully integrates with the milk, creating a smooth emulsion. This step is essential because it helps blend the fat from the butter evenly into the milk, which is vital for making heavy whipped cream.
Once the mixture is uniform, allow it to cool to room temperature before using or refrigerating. This combined butter and milk base sets the foundation for achieving the right texture in your homemade heavy whipped cream.
Blend the Mixture to Make Heavy Cream
Once the butter and milk mixture has cooled to room temperature, you’ll want to blend it in a high-speed blender for 3 to 4 minutes until it becomes smooth and creamy. This step is essential for proper emulsification, which helps the fat and liquid combine seamlessly.
Make sure your blender can handle hot liquids and has a vented lid to release steam safely.
As you blend, watch for the mixture to become fully blended with no separation. It should get thick and creamy, resembling heavy cream.
The texture should be smooth and ready for chilling.
Achieving this thick, emulsified cream is key before moving on. Once blended, transfer it to a container to prepare for the next step.
Cool Mixture Before Whipping
After blending your mixture into a smooth, creamy consistency, you need to chill it thoroughly before whipping. Refrigerate the mixture for at least 2-4 hours, or overnight if possible.
Cooling the mixture to the right temperature is essential—it helps create a stable, airy texture and prevents the mixture from becoming too runny. To enhance the process, use a chilled bowl and beaters.
Here’s a quick guide to cooling:
| Step | Action | Notes |
|---|---|---|
| 1 | Pour mixture in bowl | Use a clean, airtight bowl |
| 2 | Cover and refrigerate | Chill for 2-4 hours minimum |
| 3 | Check temperature | Mixture must be very cold |
| 4 | Prepare tools | Chill bowl and beaters |
Proper cooling is key before whipping. So, don’t rush it—taking the time to chill your mixture makes all the difference!
Whip the Cold Mixture Into Fluffy Cream
Now that your mixture is thoroughly chilled, it’s time to whip it into fluffy cream. Use a mixer on high speed and watch as it thickens and doubles in volume.
Keep whipping until you see soft peaks form. Just be careful not to go too far—you want to stop before it turns grainy or separates.
Whipping Techniques Explained
Although it takes just a few minutes, whipping the cold, emulsified milk mixture correctly is key to achieving that light, fluffy texture you want in your heavy whipped cream. When whipping, you want to focus on proper air incorporation to transform the emulsified milk into a fluffy whipped delight.
Here’s how to nail it:
- Use an electric hand or stand mixer at medium to high speed for efficient air incorporation.
- Whip for 2 to 5 minutes, checking periodically to avoid over-whipping that causes separation or graininess.
- Stop once you see soft peaks or your desired fluffy texture and serve immediately or refrigerate to preserve the airy consistency.
Master these whipping techniques, and you’ll get perfectly fluffy whipped cream every time. Easy, right? Just a little patience, and you’re set!
Achieving Fluffy Consistency
When you whip the chilled cream mixture, you release its potential to transform into light, airy whipped cream that holds its shape beautifully. Start with heavy cream that’s been refrigerated for at least two hours to make sure it’s cold enough for whipping.
Use an electric mixer on high speed to whip the cold mixture, watching as it doubles in volume and becomes fluffy. Add sugar or vanilla during whipping to enhance the flavor and create a sweet, fluffy texture.
Whip until soft peaks form for a smooth, creamy consistency or continue to stiff peaks for a firmer whipped cream ideal for toppings. Just be careful not to overwhip, as this can cause the mixture to turn grainy or separate.
Store Homemade Heavy Cream and Use Quickly
To keep your homemade heavy cream fresh, store it in an airtight container in the refrigerator and use it within 3 to 4 days. This helps preserve the quality of your homemade whipped cream and prevents spoilage.
When you store homemade heavy cream, remember to seal the container tightly to avoid absorbing other fridge odors. Also, shake or stir the cream before use if it separates or thickens.
Avoid freezing it, as freezing can ruin the smooth texture. Using your cream quickly ensures it stays rich and smooth for whipping.
Frequently Asked Questions
How to Make Heavy Whipping Cream With Just Milk?
You can’t make true heavy whipping cream with just milk because milk lacks enough fat. Instead, combine melted butter with whole milk, blend it well, chill, then whip to get a creamy, thick texture similar to heavy cream.
How Much Milk for 1 Cup of Heavy Cream?
You’ll need about ⅔ cup of whole milk to make 1 cup of heavy cream when combined with butter. This ratio helps you create a rich, creamy mixture that’s perfect for cooking or desserts.
How Does Milk Become Heavy Whipping Cream?
You turn milk into heavy whipping cream by adding melted butter, boosting its fat content. Then, you blend and chill it until thick. This fat increase lets you whip it into creamy, fluffy heavy cream.
How Long Does It Take to Make Whipped Cream From Milk?
It takes you about 40 to 60 minutes to make whipped cream from milk. You’ll spend time melting, cooling, and whipping the mixture until it thickens into fluffy, creamy perfection.
Conclusion
So, there you have it—your very own homemade heavy whipped cream from just milk and butter. Who knew turning two everyday ingredients into fluffy decadence could be this simple?
Just don’t be surprised when everyone insists you buy the store-bought stuff next time—because, hey, why make it yourself when you can pay twice as much for convenience?
But at least now you have the secret to making heavy whipped cream using milk, and your desserts will never be the same. With this easy method, you can enjoy rich, creamy whipped cream anytime without running to the store. Give it a try, and watch your homemade treats get that perfect, indulgent touch every time!