How to Make Cream From Milk in 7 Easy Steps (Simple & Homemade)
If you’ve ever wondered how to make cream from milk right at home, you’re in the right place. Making cream from milk is simpler than you might think, especially when you start with the right kind of milk and follow a few straightforward steps. By understanding the process of letting milk rest and carefully collecting the cream, you can create a fresh, rich product that elevates your cooking.
Let’s walk through how to get it just right.
Selecting the Right Milk for Cream

When selecting milk for making cream, you’ll want to choose fresh, non-homogenized whole milk with a fat content between 3% and 6%. This type of whole milk is ideal because its milk fat hasn’t been broken down, allowing for natural cream separation.
Non-homogenized milk keeps the cream intact, so it rises to the top, unlike homogenized milk where the fat is evenly distributed and prevents cream from forming.
Full-fat milk ensures you get a richer, thicker cream layer compared to toned or skimmed varieties.
Always check the label or look for a visible cream line on glass bottles to confirm the milk is fresh and non-homogenized.
Avoid ultra-pasteurized milk, as its altered fat structure disrupts cream separation and reduces cream quality.
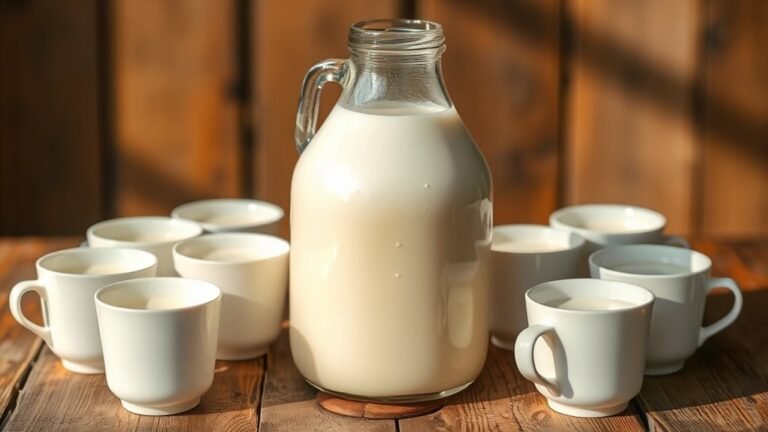
Allowing Milk to Rest for Cream Separation

How long should you let milk rest to separate cream properly? For effective cream separation, let fresh, non-homogenized milk rest undisturbed for 24 hours. This resting milk period allows the cream layer to naturally rise to the top, a key step in the dairy process of making homemade cream.
Let fresh, non-homogenized milk rest undisturbed for 24 hours to naturally separate the cream layer.
Visualize the process:
- A wide-mouthed jar filled with fresh milk
- A thick, yellowish cream layer forming atop translucent milk
- The milk resting quietly in a cool spot
- A ladle ready to dip into the cream layer gently
- Cream and milk refrigerated promptly after separation
This careful resting guarantees the cream layer is distinct and rich, perfect for your next homemade cream recipe.
Collecting Cream From Non-Homogenized Milk

Why wait any longer once your milk has rested? Using non-homogenized milk is key because it allows natural cream separation. After letting fresh milk rest undisturbed in a wide-mouthed jar, a distinct cream layer will form on top within 24 hours.
To collect cream, gently dip a ladle or turkey baster just above the cream layer without disturbing the milk below. Transfer the cream to a separate container and repeat this process until about an inch of cream remains in the jar.
This method guarantees you gather the richest cream while leaving some behind to maintain freshness.
Once collected, be sure to store the cream in the refrigerator and use it within a week for the best quality and taste.
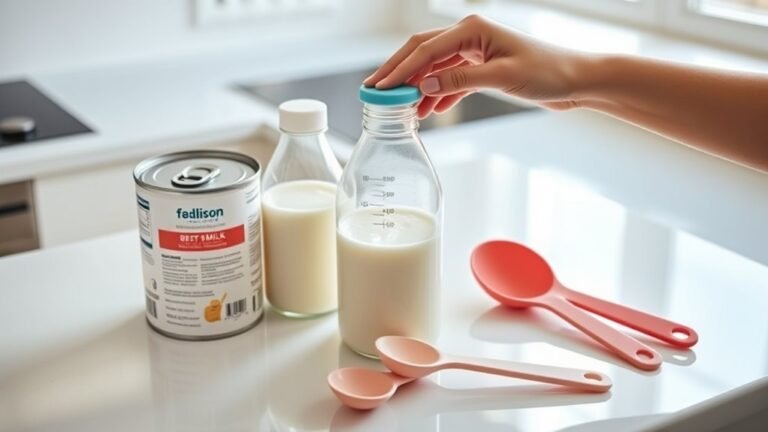
Preparing Cream From Butter and Milk Mixture
If you don’t have access to non-homogenized milk, you can still create rich cream by combining butter and milk. Start by melting unsalted butter and stirring a tablespoon into cold whole milk to temper it, then mix this back with the rest of the butter.
No non-homogenized milk? Simply blend melted butter with whole milk for a rich, creamy substitute.
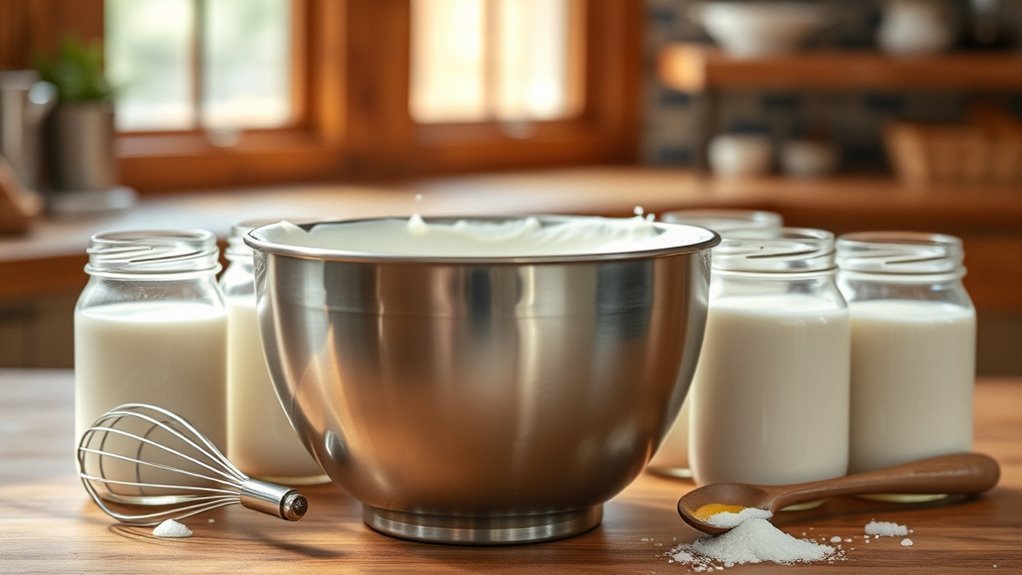
Heat the cream mixture until steaming. Don’t boil.
Blend the warm mixture with a food processor or electric mixer until it thickens into heavy cream. You’ll get a homemade cream perfect for making whipped cream.
Using whole milk works best, but 2% milk can also produce decent results for cream at home.
After blending, cool and store the cream mixture in a sealed container in your fridge, and use it within a week.
- Smooth, golden melted butter
- Cold, fresh whole milk
- Steaming cream mixture in a saucepan
- Thickened heavy cream in a blender
- Lidded jar of homemade cream at home ready to whip
Enhancing Whipped Cream With Gelatin and Flavors
Although traditional whipped cream is delicious on its own, you can elevate its texture and flavor by incorporating gelatin and a touch of vanilla.
Start by blooming 2 teaspoons of unflavored gelatin in ½ cup cold water for 5 minutes. Heat it gently until clear, then cool it to room temperature.
Whisk this gelatin mixture into 1 cup of chilled whole milk for 20-30 seconds to add thickening power.
Next, stir in ½ tablespoon vanilla extract and ¼ cup powdered sugar to boost the flavors.
Chill the mixture for 90 minutes, stirring every 15 minutes.
Once ready, whip the cream until soft peaks form. This method ensures your whipped cream holds its shape longer and has enhanced flavor and texture.
Chilling and Whipping the Cream to Perfect Consistency
After enhancing your cream with gelatin and flavors, the next step is chilling it thoroughly. Place the cream in the refrigerator and chill for at least 1-2 hours. This lower temperature helps you whip the cream more easily and achieve better volume and texture.
Make sure your equipment is cold. Use a chilled whisk or electric mixer for ideal results.
For best results, always use a chilled whisk or electric mixer when whipping cream.
When whipping, aim for soft peaks by whipping at medium to high speed, usually within 3-5 minutes.
Stop immediately once stiff peaks form to avoid turning your cream into butter.
- Cream chilled to a cool temperature in the refrigerator
- Cold whisk or electric mixer ready to whip
- Cream gradually thickening as you whip
- Soft peaks gently forming and holding shape
- Smooth, fluffy cream ready to sweeten and serve
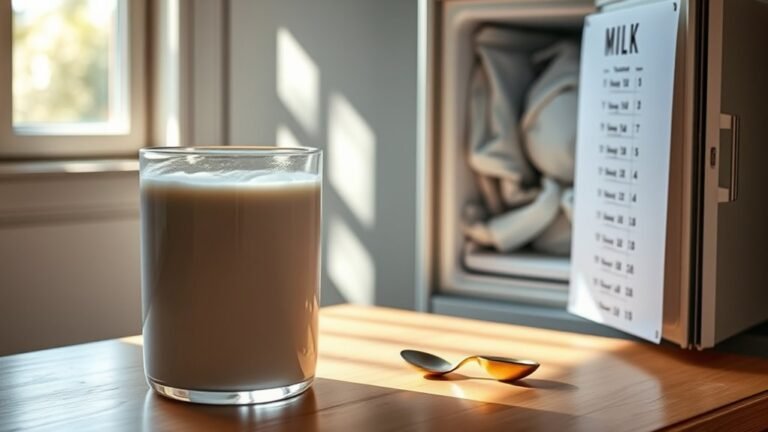
Storing and Using Homemade Cream Safely
When you finish making your cream, store it in a clean, airtight container in the refrigerator to keep it fresh for up to one week.
Always use clean utensils when handling the cream to avoid introducing bacteria that can cause spoilage.
Keep the container tightly sealed to prevent contamination and absorption of odors from other foods.
If you want to extend the storage duration, you can freeze the cream for up to three weeks, but be aware that freezing may affect its texture.
Before using, check for signs of spoilage like a sour smell, curdling, or discoloration.
If you notice any of these signs of spoiled cream, discard it immediately to ensure safety and maintain quality in your homemade cream.

Frequently Asked Questions
How to Turn Milk Into Cream Quickly?
You can turn milk into cream quickly by heating melted unsalted butter with cold milk, then blending the mixture until it thickens. Shake or stir before use, and store it in the fridge to keep fresh.
What Is the Process of Making Cream From Milk?
You let non-homogenized milk rest 24 hours so cream rises, then carefully skim it off without mixing.
Store the cream refrigerated in a covered container and use within a week for freshness.
How to Get Cream From Milk?
You let fresh, non-homogenized milk rest for 24 hours so the cream rises, then gently skim the thick layer from the top using a ladle.
Store it chilled and use within a week for best results.
How to Turn Milk Into Cooking Cream?
You won’t believe how quickly you can turn milk into cooking cream! Just heat whole milk with melted butter, then blend until thick.
You’ll have rich, creamy magic ready for your recipes in minutes!
Conclusion
Now that you’ve gently coaxed cream from milk, you’ve revealed a little kitchen magic. With patience and a touch of care, you’ve transformed simple ingredients into something delightfully indulgent.
Whether you choose the classic rise or the buttery blend, your homemade cream brings a soft, rich touch to any dish. Keep it cool, handle it kindly, and enjoy the smooth, velvety reward of your careful craftsmanship.
By following these easy steps to make cream from milk, you can elevate your cooking with fresh, natural ingredients. Homemade cream adds a creamy texture and rich flavor that store-bought versions can’t match. Embrace the satisfaction of crafting cream at home and savor the difference it makes in your recipes.