How Do You Make Caramel With Condensed Milk in 7 Easy Steps?
You can make smooth caramel with condensed milk by simmering an unopened 14-ounce can of sweetened condensed milk fully submerged in water for 60-90 minutes.
Just make sure to top up the water as needed to keep the can covered.
Once it’s done, let it cool before blending until creamy.
If you like, add some butter or cream to make it extra rich and smooth.
Store your homemade caramel in an airtight container.
When you’re ready to use it, gently reheat it to keep that silky texture.
Follow these simple steps, and you’ll soon master all the techniques for perfect caramel every time.
It’s easier than you think, and the results are delicious!
Key Takeaways
- Submerge an unopened 14-ounce can of sweetened condensed milk in simmering water, making sure it stays covered by 1-2 inches of water.
- Let it simmer gently for 60-90 minutes without opening the can. Keep an eye on the water level so it doesn’t boil dry.
- When the time’s up, carefully take the can out and let it cool completely before opening. This helps prevent burns and gives you the perfect caramel texture.
- Once cooled, blend the caramel with an immersion blender. You can also add warm cream or butter if you want it extra smooth and creamy.
- Store your caramel in an airtight container in the fridge for up to a week. Or freeze it for up to 3 months, just remember to reheat gently before using.
Ingredients Needed for Caramel With Condensed Milk
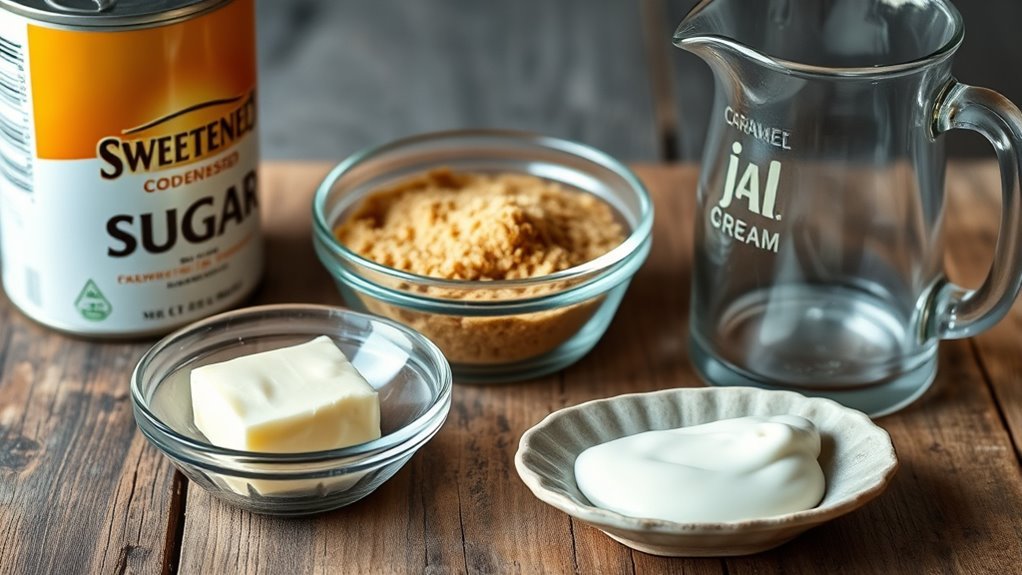
Although the key ingredient for making caramel with condensed milk is a 14-ounce can of sweetened condensed milk, you can enhance the flavor and texture by adding brown sugar, unsalted butter, salt, or vanilla extract. Choosing high-quality sweetened condensed milk is vital for a richer, smoother caramel.
These additional ingredients bring depth to the recipe, balancing sweetness and adding creaminess. The caramelization process occurs as you heat the mixture—whether by boiling, baking, or microwaving—transforming the sweetened condensed milk into luscious caramel.
Some recipes even incorporate ginger or molasses for unique flavor twists, but the core ingredients remain the same. Focusing on these components guarantees you get the perfect caramel consistency and flavor every time you make this delicious treat.
How to Make Caramel With Condensed Milk (Stovetop Method)
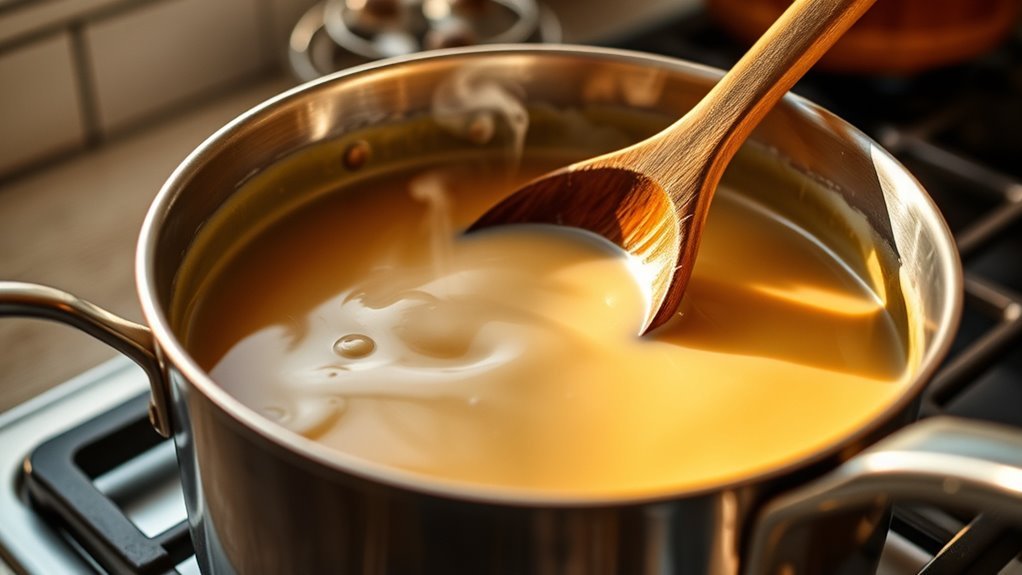
To make caramel with condensed milk on the stovetop, start by placing an unopened can in a pot of water. Make sure it’s fully submerged for even cooking.
Keep a close eye on the water level to avoid any safety risks. Maintain a gentle simmer throughout the process.
This method gradually transforms the milk into a smooth, golden caramel. It’s got just the right consistency for your recipes.
Preparing Condensed Milk
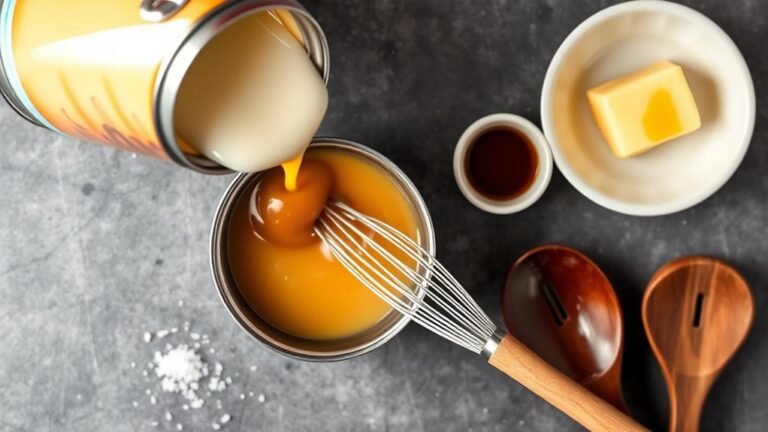
When you pour sweetened condensed milk into a heavy saucepan, you set the stage for creating smooth, rich caramel on your stovetop. Start by heating the milk over medium heat until it reaches a gentle boil. Whisk constantly to prevent burning or seizing.
Once boiling, reduce heat to maintain a slow simmer. Keep whisking as the milk thickens and gradually shifts to a deep caramel color. This process usually takes 5-10 minutes, so stay attentive to guarantee even cooking.
The slow simmer helps develop that signature caramel flavor and texture. Once thickened, you’re ready to remove the saucepan from heat and finish your caramel with butter and vanilla. But for now, focus on preparing the condensed milk correctly to build a perfect base.
Boiling Safety Tips
After preparing your condensed milk for caramel, you’ll need to handle the boiling process with care to guarantee safety and success. Always make sure the can is fully submerged in water before you start boiling.
Use a large pot with a water level at least 1-2 inches above the can to maintain consistent submersion throughout. Boiling safety depends on keeping the can underwater to prevent overheating or bursting.
Keep the boil gentle and steady, and avoid stirring. Check the water level every 30 minutes, topping off with hot water as needed to ensure the can stays fully submerged.
Never open the can while it’s hot; wait until it cools completely in the water to avoid burns from hot caramel inside. It’s better to be safe than sorry!
Achieving Desired Consistency
Although it takes patience, simmering the sealed can of condensed milk on the stovetop lets you regulate the caramel’s texture perfectly. If you simmer the can in water for about 2-3 hours, you’ll get a thicker, spreadable dulce de leche consistency.
For a smoother, pourable caramel sauce, boil the condensed milk for roughly 1.5 hours until it turns golden brown. Remember to keep the can fully submerged in water throughout the process to avoid burning or explosion risks.
Adjust the simmer or boil time based on the consistency you want—shorter for sauce, longer for dulce de leche. Once done, let the can cool completely before opening to prevent splattering and ensure your caramel’s texture is just right.
Checking Caramel Color and Consistency
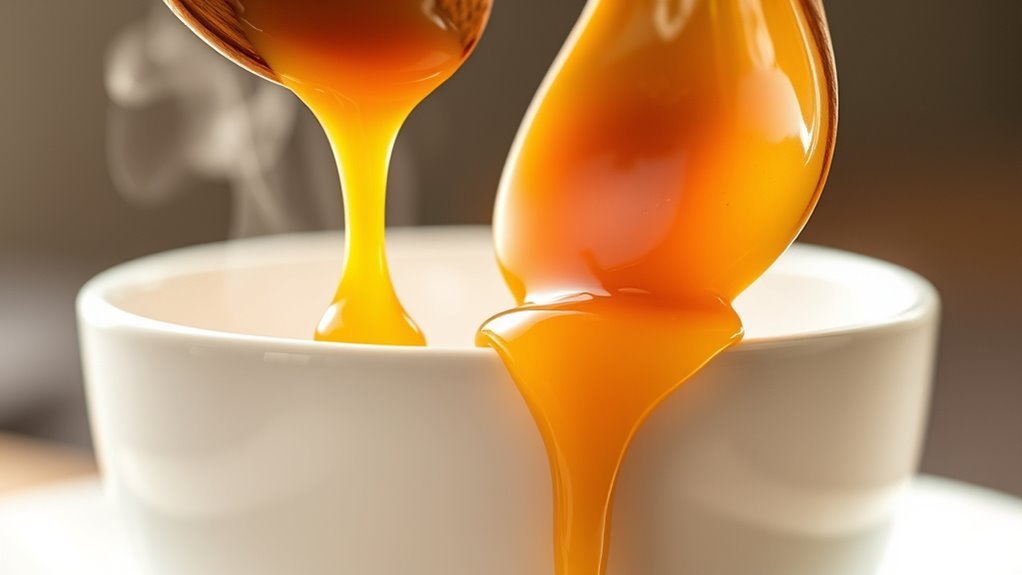
As you monitor the caramel, look for a deep golden-brown color that signals the Maillard reaction and caramelization are in full effect, usually after 60 to 90 minutes of cooking. This caramel color indicates the rich flavor development during boiling.
When checking, observe the consistency—smooth and pourable for sauce or thicker for fillings, depending on how long it’s cooked. Avoid overcooking, which darkens the caramel and makes it brittle, or undercooking, which leaves it light and less flavorful.
After boiling, let the caramel cool to set; cooling helps you accurately assess the final thickness and texture. Careful checking throughout guarantees your caramel reaches the perfect balance of color and consistency for your intended use.
Tips to Blend and Finish Caramel With Condensed Milk
Once your caramel has cooled, use an immersion blender in short pulses to achieve a smooth, silky texture without overworking it. If you notice any crusty bits, blending completely after cooling helps break them down evenly.
For a richer finish, try adding a bit of warm cream or melted butter while blending to enhance creaminess. It really makes a difference and gives your caramel that extra smooth touch.
Blending Techniques Explained
When your caramel has cooled completely, blending it with condensed milk becomes the key to achieving a smooth and creamy texture. Start by using an immersion blender to combine the two gently. Make certain the caramel has finished cooling to avoid splattering and guarantee safety.
To enhance the consistency, add a small amount of melted butter while blending; this helps create a silkier, more cohesive sauce. Use short pulses with your immersion blender instead of continuous blending—this prevents overprocessing and gives you better control over the smoothness.
Blending also helps break down any crusty bits or hardened sugar, making your caramel richer and more uniform. With these blending techniques, your caramel will have the perfect smooth consistency every time.
Finishing Touches Tips
Blending your caramel with condensed milk sets the foundation for a smooth, creamy sauce, but the finishing touches bring it to the next level. First, let your caramel cool completely before you blend to avoid splattering and guarantee a consistent texture.
Using an immersion blender after cooling helps break down crusty bits, creating a silkier, smoother sauce. For a richer blend, add a little warm cream or melted butter during blending.
Once blended, strain the caramel through a fine sieve to remove any remaining lumps or air bubbles. This gives it a glossy, professional finish.
If your caramel thickens too much, gently reheat it on low heat or in the microwave. This will restore pourability without losing that rich, smooth texture.
Common Issues With Caramel Made From Condensed Milk (And How to Fix Them)
Although making caramel with condensed milk can be straightforward, you might encounter issues like grainy texture, hardening, or burning.
Here’s how to tackle common problems:
- Grainy caramel – This is often caused by overcooking or water contamination, which leads to crystallization. To fix it, gently reheat with a splash of water or cream. Then, stir until smooth.
- Seized caramel – This happens when the mixture cools too fast or overheats, resulting in hard caramel. Just warm it slowly to loosen the texture.
- Burning – Cooking at too high a temperature or stirring too long causes a bitter, burnt flavor. So, keep the heat moderate and stir gently.
- Crystallization – Sugar crystals form on the pan sides if you stir or add water mid-cook. The best way to avoid this is to skip stirring and keep the mixture stable.
Best Ways to Store Homemade Caramel
Keeping your caramel’s texture and flavor intact doesn’t stop once the cooking’s done. To store homemade caramel properly, make sure it’s completely cooled before transferring it to an airtight container. This prevents condensation, which can introduce moisture and cause spoilage or crystallization.
For short-term storage, refrigerate your caramel using clean utensils to avoid contamination; it will stay fresh for up to 1 week. If you want to extend the storage duration, freeze the caramel in a freezer-safe container, also ensuring it’s fully cooled first, and use it within 3 months.
Always keep caramel away from water or moisture during storage to maintain its smooth consistency and rich flavor. Following these steps helps you enjoy your homemade caramel at its best.
How to Reheat Caramel Without Losing Texture
When you reheat caramel, doing it slowly and carefully helps you keep its smooth, creamy texture. Here’s how to reheat caramel made with condensed milk without losing that perfect consistency:
Use the microwave at 50% power in 30-second intervals. Stir between each interval to keep it smooth.
You can also warm caramel gently in a double boiler or over low heat on the stovetop. Just stir constantly to prevent burning or separation.
If the caramel thickens, add a splash of heavy cream or milk while reheating. Stir it until everything is smooth again.
And remember, avoid overheating. Too much heat can make the caramel seize up or turn grainy.
Frequently Asked Questions
How to Make Caramel From Condensed Milk Quickly?
You can quickly make caramel by microwaving sweetened condensed milk in short intervals, stirring constantly until golden brown. Alternatively, use a pressure cooker for about 18 minutes on high pressure to speed up caramelization safely.
What Is the Easiest Caramel Recipe?
Over 60 minutes in the oven at 425°F, you can make the easiest caramel by baking a sealed can of condensed milk in water. Just let it cool, open, and enjoy smooth, creamy caramel without fuss.
How to Make Caramel With 4 Ingredients?
You combine sweetened condensed milk, brown sugar, butter, and a pinch of salt in a pan. Cook over low heat, stirring until thick and golden. Let it cool, then enjoy your rich homemade caramel.
How Long Does It Take Sweetened Condensed Milk to Turn Into Caramel?
It takes about 60 to 90 minutes in the oven at 425°F to caramelize sweetened condensed milk. On the stovetop, boiling cans usually takes 2 to 3 hours. Slow cookers need 8 to 10 hours.
Conclusion
Now that you know how to make caramel with condensed milk in just 7 easy steps, you’re ready to impress with a creamy, sweet treat. Fun fact: nearly 60% of home cooks say homemade caramel beats store-bought every time!
With simple ingredients and careful attention to color and texture, your caramel will turn out smooth and delicious. Keep these tips in mind, and you’ll enjoy perfect caramel for desserts, drizzles, and snacks anytime.
Making caramel with condensed milk is easier than you think. Just follow the steps, and you’ll have a rich, velvety caramel that’s perfect for topping cakes, mixing into drinks, or enjoying straight from the spoon. Homemade caramel adds that special touch to your recipes, and once you try it, you won’t want to go back to store-bought. So go ahead, get creative, and enjoy your sweet, homemade caramel!