How to Make Heavy Whipping Cream From Milk in 5 Easy Steps
You might not realize that making heavy whipping cream from milk isn’t as hard to recreate at home as you think. With just milk and butter, you can whip up a substitute that works well in most recipes. This homemade heavy whipping cream is perfect for adding richness to your dishes.
The process is straightforward but involves a few key steps to get the right texture and richness. Before you start, it’s important to understand how these ingredients come together to mimic that creamy consistency. Following these simple steps will help you achieve the perfect heavy cream substitute every time.
Ingredients Needed for Homemade Heavy Cream

To make homemade heavy cream, you’ll need ⅓ cup of unsalted butter and ⅔ cup of whole milk.
Unsalted butter is key because it provides a pure, rich flavor without added salt, making it ideal for a cream substitute.
Whole milk contributes the necessary milk fat that helps achieve the thickening and creamy texture of heavy cream.
Before mixing, warm both ingredients to ensure proper emulsification, preventing separation.
This combination mimics the fat content of store-bought heavy cream, allowing you to whip it into soft peaks just like traditional whipped cream.
These simple recipe ingredients let you create homemade heavy cream perfect for cooking or baking, providing a fresh and convenient alternative whenever you need thickening or richness in your dishes.
Essential Kitchen Tools for Preparation

After gathering the right ingredients, you’ll want to equip yourself with the proper kitchen tools to guarantee your homemade heavy cream turns out smooth and well-blended. Use a high-quality blender or immersion blender to mix the melted butter and milk until fully emulsified.
A small saucepan melts the butter evenly before combining. Measuring cups or a kitchen scale ensure accurate proportions, essential for the perfect texture. A silicone spatula helps scrape every bit from the blender or saucepan.
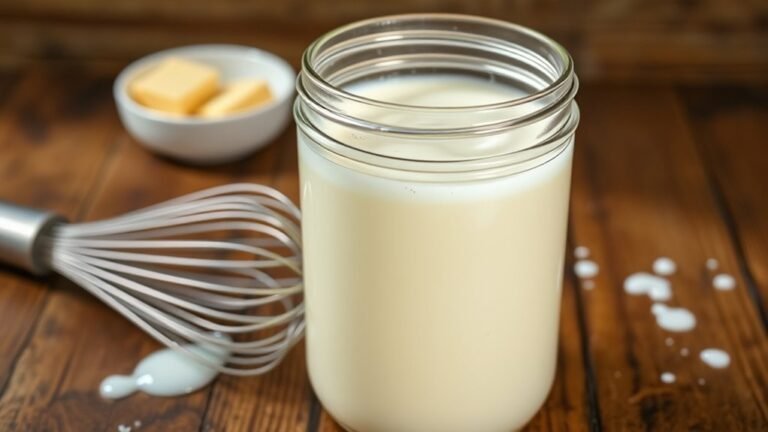
Store leftovers in an airtight container or mason jar to keep freshness intact.
| Tool | Purpose | Key Benefit |
|---|---|---|
| Blender | Mix ingredients thoroughly | Smooth, emulsified cream |
| Saucepan | Melt butter evenly | Consistent melting |
| Measuring cups | Measure liquid amounts | Accurate proportions |
| Airtight container | Store finished cream | Maintains freshness |
Melting Butter and Combining With Milk

Start by melting 5 tablespoons (⅓ cup) of unsalted butter in a saucepan over medium-low heat, slicing it into small pieces to guarantee even melting and prevent burning. As you melt the butter, pay close attention to temperature control to avoid scorching.
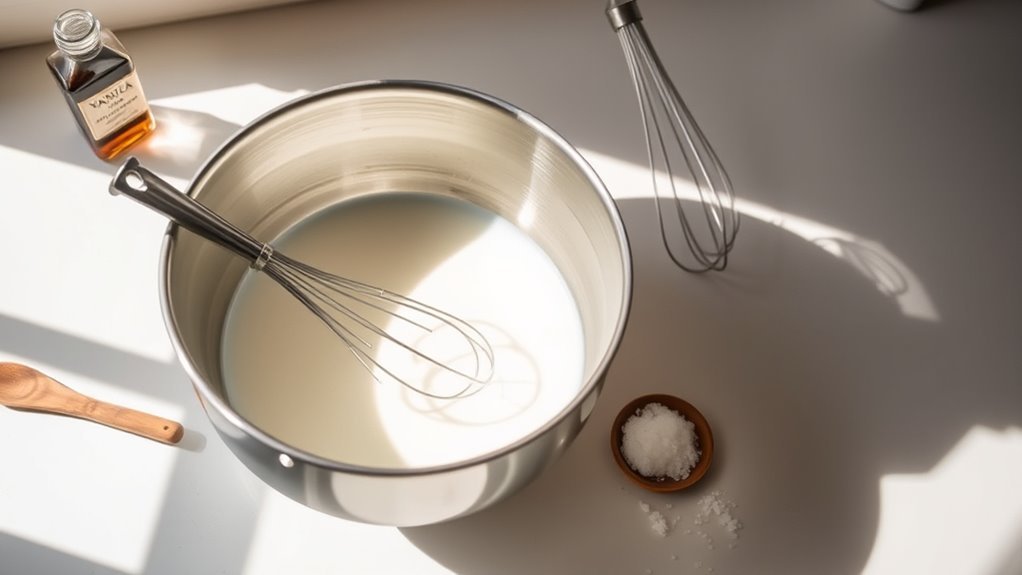
Once melted, add ⅔ cup of whole milk to the saucepan. Stir continuously to combine the melted butter and milk thoroughly, ensuring a smooth mixture. Keep the heat gentle throughout this cooking process to prevent boiling or curdling.
Add whole milk to melted butter, stirring gently to create a smooth, creamy mixture without boiling or curdling.
Visualize the process as:
- Small butter pieces melting evenly
- Warm, creamy liquid beginning to form
- Gentle steam rising, no bubbling
- Continuous stirring motion blending textures
- Smooth, unified mixture ready for next step
This careful melting and combining step is essential for your homemade cream’s quality.
Blending and Cooling the Mixture
Once you’ve combined the melted butter and milk into a smooth mixture, pour it into a blender to fully emulsify the ingredients. Blend the mixture on high speed for about 1 to 2 minutes until it becomes smooth and slightly thickened.
This emulsification process guarantees the fat and milk combine properly, creating a creamy base.
After blending, transfer the mixture to a bowl and let it cool to room temperature. Allowing it to cool helps with stabilization, preventing separation and improving texture.
Once the mixture has cooled, refrigerate it for at least one hour to get it chilled and ready for whipping or use. This cooling and refrigeration step is essential for achieving the desired consistency in your homemade heavy whipping cream.
Using and Storing Your Homemade Cream
While homemade heavy cream offers rich flavor and freshness, proper storage is key to maintaining its quality and usability. To store your cream effectively, keep these tips in mind:
Use an airtight container or sealed mason jar to preserve freshness. Refrigerate at or below 40°F (4°C) and use within 3 to 4 days for best quality. Shake or stir well before each usage to address any separation.
Avoid freezing, as it can affect the cream’s smooth consistency. If the cream separates or becomes watery, blend or stir to restore texture.

Frequently Asked Questions
How to Turn Milk Into Heavy Cream?
You can turn milk into heavy cream by blending ⅔ cup whole milk with ⅓ cup melted unsalted butter. Warm the mixture slightly and whisk thoroughly until it emulsifies, creating a rich, creamy substitute for cooking and baking.
How to Make Cream From Scratch?
You’re in the driver’s seat. Melt butter and warm milk, then blend them until smooth. This combo mimics cream’s richness.
Keep it chilled and use within days, and you’ll have homemade cream ready to go!
How Do I Make 1 Cup of Heavy Cream?
To make 1 cup of heavy cream, mix ¾ cup whole milk with ¼ cup melted unsalted butter. Warm slightly, then blend thoroughly until smooth.
Use it for cooking or baking; it won’t whip into peaks.
Can You Make Whipping Cream With Normal Milk?
You can’t turn normal milk into whipping cream on its own; it’s like trying to catch smoke with your hands.
You’ll need to add fat or stabilizers to get that fluffy, airy texture you want.
Conclusion
So, there you have it—your very own “heavy whipping cream” straight from milk and butter, because who needs cows when you’ve got a saucepan?
Sure, it’s not exactly dairy royalty, but it’s perfect for those moments when the store’s out or you’re feeling adventurous in the kitchen. Just blend, chill, and pretend you’re a fancy chef.
Enjoy your homemade miracle—because nothing says “I’m resourceful” like turning butter and milk into creamy magic. Making heavy whipping cream from milk is easier than you think!