How to Cook Caramel From Condensed Milk in 3 Easy Steps
You might think turning condensed milk into caramel is rocket science, but it’s surprisingly straightforward. Making caramel from condensed milk is a simple process that anyone can master. With just a few simple steps, you can transform a basic ingredient into a rich, luscious treat.
Before you start, knowing the safest way to handle the boiling process is essential. Stick around, and you’ll soon have a perfect caramel ready to enjoy or share.
Essential Ingredients for Caramel From Condensed Milk

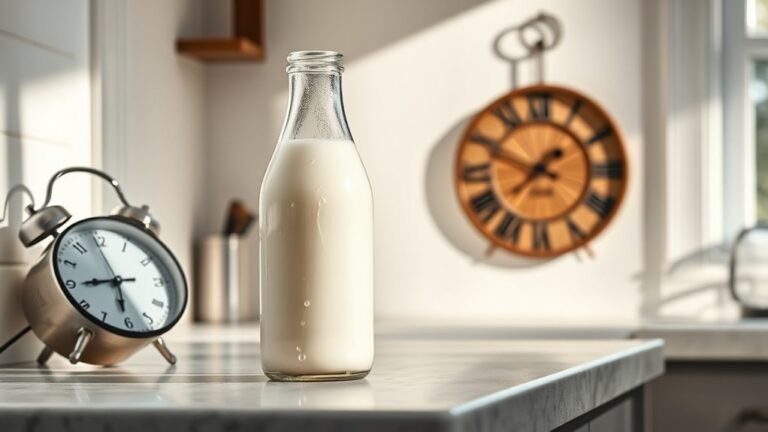
To make caramel from condensed milk, you’ll need a 14-ounce can of sweetened condensed milk as your main ingredient. This condensed milk contains both the milk and sugar necessary to create the rich caramel sauce known as dulce de leche when cooked.
For the best results, choose a full-fat sweetened condensed milk, which gives your caramel a creamier, richer texture. You won’t need any additional ingredients unless you want to customize your caramel with flavors like vanilla or a pinch of salt.
Depending on your cooking method, you might use the unopened can directly or transfer the condensed milk into a heat-safe container. This guarantees safe and even heating while turning your condensed milk into a luscious duche de caramel sauce.
Preparing Your Equipment and Workspace

Before you start cooking your caramel, make sure you have a large, heavy-bottomed microwave-safe bowl ready. This large bowl helps prevent overflowing and guarantees even heating.
Wrap the bowl tightly with plastic wrap to minimize water intrusion during cooking. Be sure to leave enough space for expansion. Caramel bubbles and rises, so giving it room avoids messy spills.
Keep a microwave-safe spoon or spatula close by for stirring the caramel at intervals, which promotes smooth consistency and prevents burning.
Also, prepare a clean workspace free of moisture and clutter to avoid accidents or water contamination.
Having everything organized and ready will make the cooking process safer and more efficient, letting you focus on creating delicious caramel from condensed milk.
Step 1: Boiling the Condensed Milk Safely

While ensuring safety, place the unopened can of sweetened condensed milk in a large, deep pot and cover it completely with water, keeping at least 2 inches above the can.
Bring the water to a rolling boiling point over medium-high heat, then reduce the heat to maintain a gentle simmer.
It’s vital to keep the can fully submerged throughout the process to prevent overheating or bursting.
Check the water level regularly, adding hot water as needed to keep the can covered and ensure even cooking.
Simmer the can for 2.5 to 3 hours, depending on how thick you want your caramel.
Maintaining safety during boiling and making sure the can never dries out are essential steps to achieve perfect caramel without any accidents.
Step 2: Cooling and Opening the Can
Once your can of condensed milk has simmered long enough, you’ll need to let it cool completely for at least an hour. Cooling is essential for safety; it reduces the internal pressure and thickens the caramel inside.
Never open the can while it’s still hot; doing so can cause the hot caramel to splatter, risking burns. After cooling, carefully open the can using a can opener or a can punch to avoid spills and injury.
If you cooked the condensed milk in a water bath, make sure the can is fully cooled before handling. Taking these safety steps guarantees you can enjoy your smooth, rich caramel without any accidents.
Step 3: Finishing and Storing Your Caramel
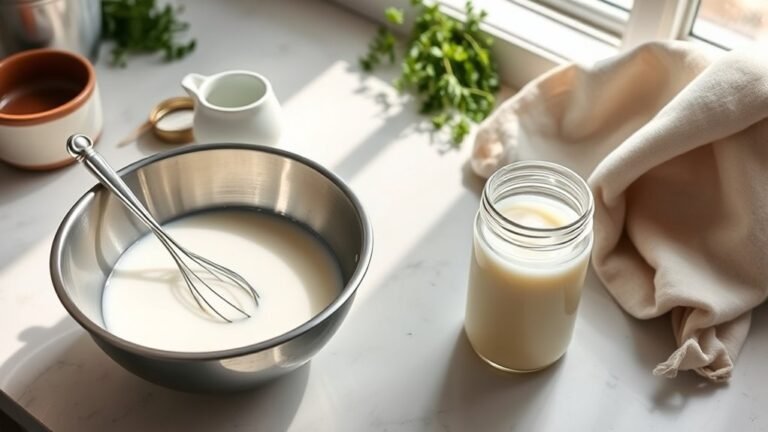
After your caramel has cooled completely at room temperature, you’ll want to transfer it into an airtight container to keep it fresh and prevent contamination. Use an airtight jar for proper storage and place it in the refrigerator, where it can last for 2 to 3 weeks.
If you want to store it longer, freeze the caramel in a freezer-safe container for up to 3 months. When you’re ready to use it, thaw it in the refrigerator.
If your caramel thickens or hardens after cooling, simply reheat it gently in the microwave or on the stovetop to restore its smooth, pourable texture. Always make certain the caramel has finished cooling before sealing and refrigerating to avoid condensation and spoilage.
Tips to Prevent Common Cooking Issues
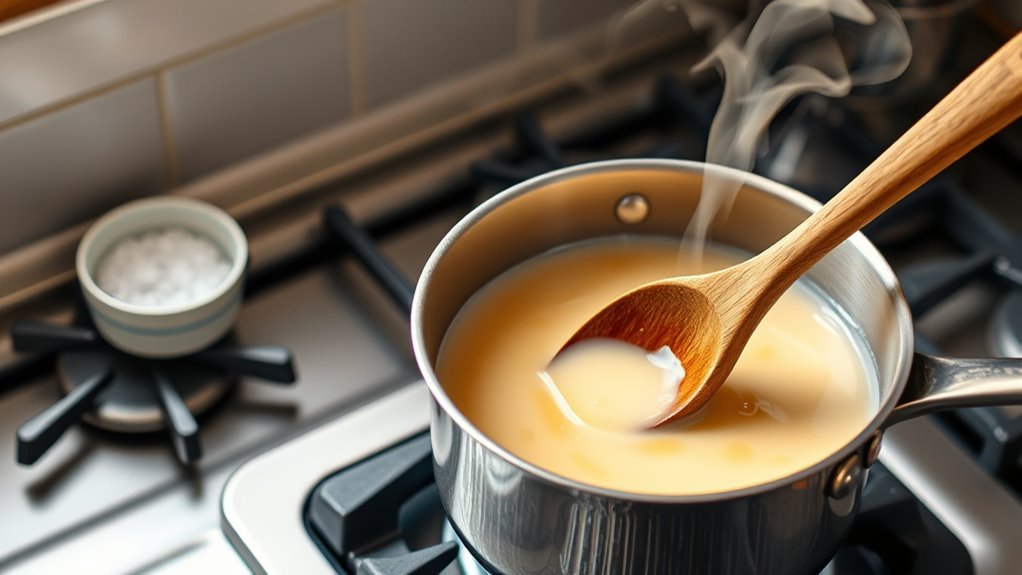
To prevent common cooking issues when making caramel from condensed milk, you’ll want to control the heat and stirring carefully. Use medium microwave power to maintain heat control and prevent crystallization. Stir every 15-20 seconds to avoid burning and ensure even cooking.
Choose a large, heavy-bottomed bowl with enough bowl size to reduce overflow risk. Keep the bowl uncovered or slightly vented for steam release, avoiding pressure buildup.
| Issue | Prevention Tip |
|---|---|
| Burning | Stir frequently every 15-20 seconds |
| Overflow & Splatter | Use a large bowl and medium microwave power |
| Crystallization | Regulate heat by lowering microwave power |
Following these tips helps you smoothly cook caramel without common pitfalls.
Alternative Cooking Methods for Condensed Milk Caramel
Controlling heat and stirring can help you avoid common problems when making caramel from condensed milk, but you might want to explore other cooking methods that suit your time and equipment.
You can boil unopened cans fully submerged in water for 2-3 hours, but be careful to prevent explosions.
Oven baking in a water bath at 425°F for 60-90 minutes is another great option for thick dulce de leche.
A slow cooker lets you cook cans on low for 8-10 hours, offering a hands-off approach while monitoring water levels.
If you’re short on time, a pressure cooker caramelizes condensed milk in just 18 minutes with natural pressure release.
Finally, simmering opened condensed milk on the stovetop over low heat with frequent stirring gives you full control over consistency.

Creative Uses for Your Homemade Caramel
When you’ve made your own caramel from condensed milk, you’ll find it’s incredibly versatile in the kitchen. This homemade caramel can be drizzled over ice cream, apple desserts, or cupcakes as rich dessert toppings.
You can stir sweetened condensed caramel into coffee or hot chocolate for a creamy twist.
Use cooled caramel as a luscious filling for cakes, tarts, or sandwich cookies. Warm caramel poured over fruit or baked goods like bread pudding adds an indulgent touch.
Chill it to spread as a decadent frosting or filling for brownies, bars, or layered desserts.
Exploring these caramel uses opens up endless caramel recipes and lets you enjoy the rich flavor of condensed milk in many creative ways.
Frequently Asked Questions
How to Turn Condensed Milk Into Caramel Quickly?
You can quickly turn condensed milk into caramel by microwaving it in short intervals, stirring often. Stop when it’s golden and thickening slightly.
Use a large bowl and lower power to avoid burning or overflowing.
How Long Must You Boil Condensed Milk to Make Caramel?
You need to boil condensed milk for about 2 to 3 hours to make caramel. Keep the can fully submerged and maintain a low simmer.
Let it cool completely before opening to guarantee safety and perfect caramelization.
How Do You Make Caramel From Condensed Milk in a Slow Cooker?
You submerge unopened condensed milk cans in water inside your slow cooker, set it on low, and cook for 8-10 hours.
Cool the cans completely before opening to enjoy smooth, rich caramel safely.
Can I Turn Condensed Milk Into Caramel in the Microwave?
You can transform condensed milk into caramel in the microwave, like a wizard conjuring gold from lead. Just heat it gently, stirring often, and watch the magic happen. Sweet, golden caramel ready in minutes.
Conclusion
Now that you know how to transform simple condensed milk into rich, creamy caramel, it’s time to put your skills to the test. Imagine the sweet aroma filling your kitchen as you reveal that golden treasure. But beware—the real magic begins when you taste it.
Ready to impress yourself and others? Just follow these easy steps, and you’ll have homemade caramel that’s irresistible. The secret’s in your hands—are you ready to open it?
With this simple method to cook caramel from condensed milk, you can create delicious treats anytime. Enjoy the smooth texture and delightful flavor that only homemade caramel can offer. Your kitchen adventures just got a whole lot sweeter!