How Do You Make Buttermilk Out of Regular Milk in 7 Easy Steps?
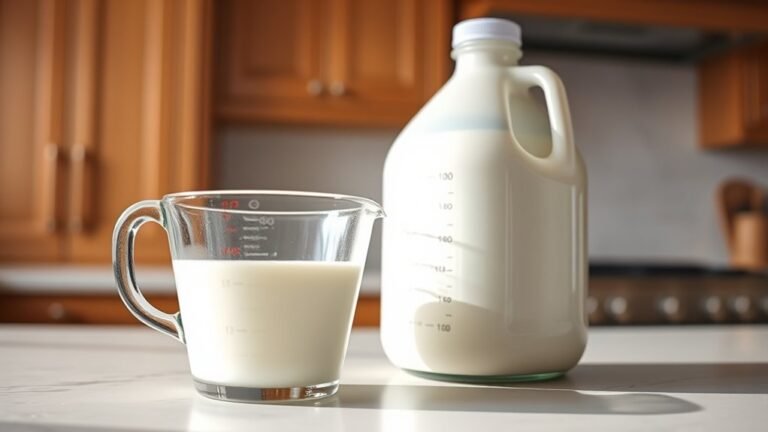
To make buttermilk from regular milk, start by adding 1 tablespoon of lemon juice or vinegar to a measuring cup. Pour in milk up to the 1-cup line and stir gently.
This simple buttermilk substitute is perfect when you don’t have store-bought buttermilk on hand.
Let the mixture sit at room temperature for 5 to 10 minutes until it thickens and shows small curdled bits.
You’ll notice the milk starting to change texture—it’s all part of the magic!
For a richer texture, use whole milk, or try dairy alternatives if you prefer a vegan option.
Leftovers can be stored in the fridge for a few days or frozen for longer use.
Keep exploring for tips on adjusting quantities, storage, and more to make the best homemade buttermilk every time!
Key Takeaways
- Add 1 tablespoon of lemon juice or vinegar to a measuring cup per cup of regular milk.
- Fill the cup with milk up to the 1-cup line and stir gently to mix.
- Let the mixture sit at room temperature for 5 to 10 minutes until it thickens and curdles slightly.
- Look for small curdled bits and a tangy aroma indicating readiness for use.
- Use the homemade buttermilk immediately in your recipe for best results.
Ingredients Needed to Make Homemade Buttermilk
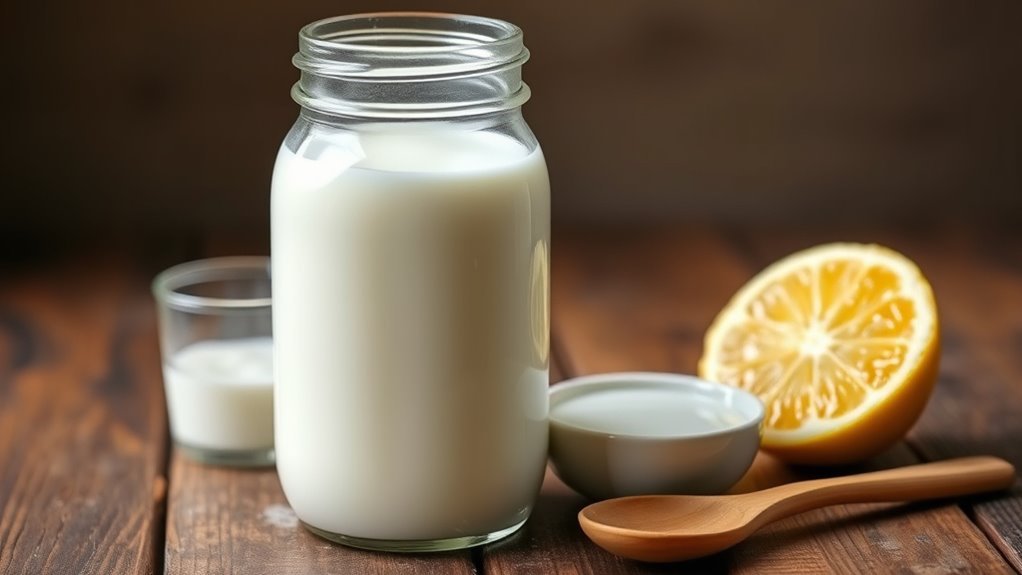
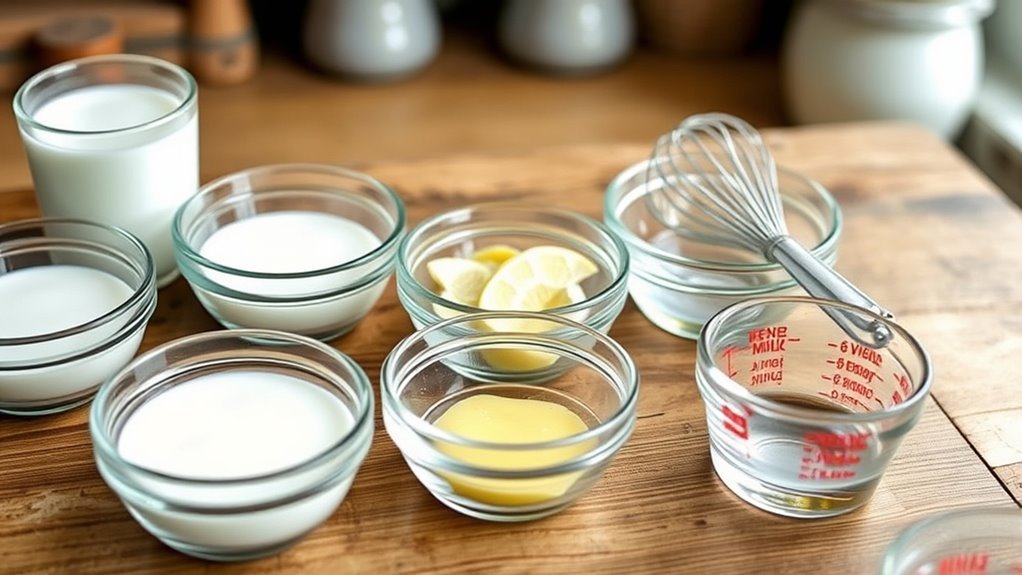
When you want to make homemade buttermilk, you’ll need just two main ingredients: milk and an acid like lemon juice or white vinegar. You can use any kind of milk—whole, 2%, heavy cream, or even dairy-free options like almond or soy milk.
The acid, whether lemon juice or vinegar, is essential because it reacts with the milk, causing it to thicken and develop those small curdled bits you expect in buttermilk. For every cup of milk, add one tablespoon of your chosen acid.
This simple combination gives you a tangy, sour flavor similar to store-bought buttermilk. Keep these ingredients on hand, and you’re ready to create fresh, homemade buttermilk anytime you need it for recipes.
How to Mix Milk and Acid to Make Buttermilk
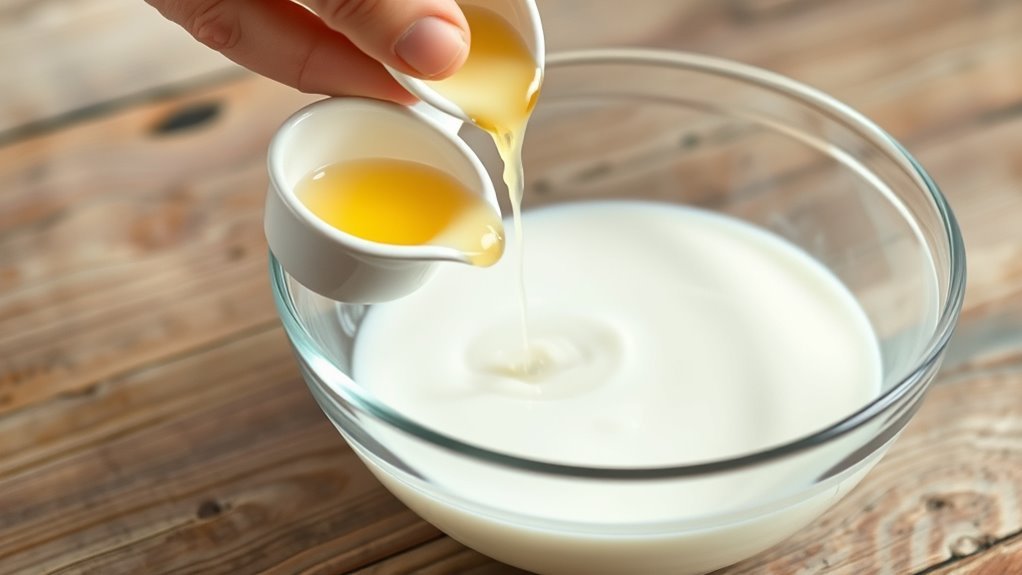
Although the process is simple, you’ll want to measure your acid and milk carefully to guarantee the right balance. Start by adding 1 tablespoon of lemon juice or vinegar to a measuring cup.
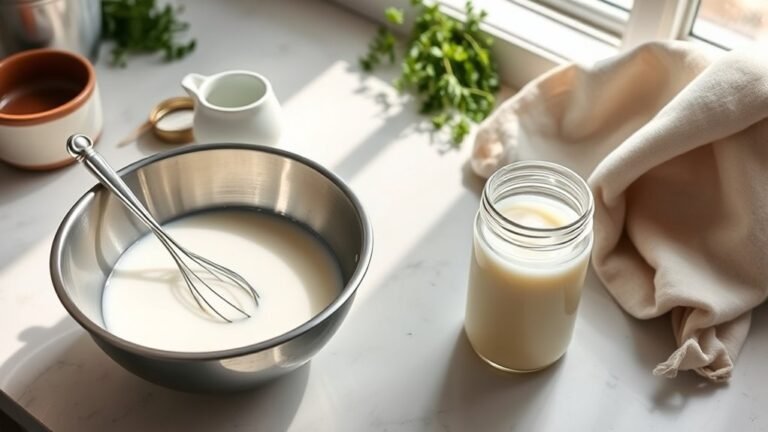
Then, fill the rest with milk up to the 1-cup line and stir gently. The acid will cause the milk to curdle, forming a tangy buttermilk mixture perfect for baking.
| Acid Type | Amount | Result |
|---|---|---|
| Lemon juice | 1 tablespoon | Slightly thicker, tangy |
| Vinegar | 1 tablespoon | Mildly curdled, tangy |
| Milk | 1 cup | Base for curdling |
Use this curdled mixture immediately in your recipe after it thickens slightly. It’s best to work with it right away for the best results.
How Long Should You Let Buttermilk Sit?
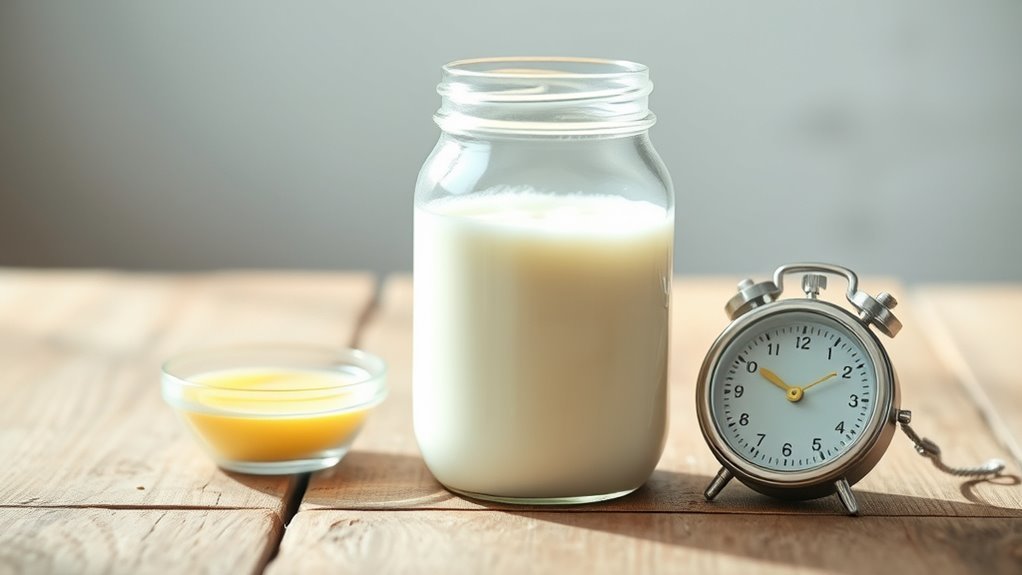
You should let your milk and acid mixture sit for about 5 minutes to thicken and develop small curdled bits, which show it’s ready. Don’t wait longer than 10 minutes, or it might get too sour and affect your recipe.
Use it right after it’s ready to get the best tangy texture for your baking. That way, your baked goods turn out just right!
Recommended Sitting Time
How long should you let your buttermilk mixture sit to achieve the perfect texture and flavor? The recommended sitting time is between 5 to 10 minutes at room temperature. This allows the acid to react with the milk, causing the mixture to gently curdle and thicken slightly.
Avoid refrigerating during this time, as room temperature is essential for proper fermentation and developing that tangy taste. If after 10 minutes the mixture hasn’t curdled enough, give it a gentle stir and wait a few more minutes, but don’t exceed 15 minutes.
This sitting time is key to ensuring your buttermilk has the right acidity and texture for baking or cooking. It helps make your dishes turn out just right every time.
Signs Of Readiness
When the buttermilk mixture has developed a tangy aroma and you see small curdled bits forming, it’s a clear sign that it’s ready. Typically, this takes about 5 to 10 minutes at room temperature, allowing fermentation to occur properly.
You’ll notice visible curdling and a slight separation of liquid and solids. Gently stir the mixture; if it thickens and shows small lumps, the curdling process is complete.
This tangy smell and slight separation indicate the milk has transformed into buttermilk. If after 10 minutes the mixture remains thin and lacks the tangy smell, just let it sit a bit longer or add a stronger acid like vinegar or lemon juice.
Best Milks for Homemade Buttermilk
Although many types of milk can create homemade buttermilk, choosing the right one depends on the texture and richness you want. Whole milk is your best bet if you want a thick, textured buttermilk with a rich, creamy taste.
Selecting the right milk shapes your homemade buttermilk’s texture and richness perfectly.
Its higher fat content supports better fermentation and curdling when combined with an acidic ingredient like lemon juice or vinegar. This process relies on live cultures to develop that signature tang.
Skim or low-fat milk produces a thinner, tangier buttermilk, perfect for lighter recipes. Goat milk, especially low-fat, also works well, offering a unique, pourable buttermilk.
Just avoid ultra-pasteurized milk, as its lack of live cultures can hinder fermentation. That means it won’t curdle properly and could affect the quality of your homemade buttermilk.
Adjusting Buttermilk Quantities for Any Recipe
When you need to adjust buttermilk quantities, keep the acid-to-milk ratio consistent by using 1 tablespoon of lemon juice or vinegar per cup of milk.
Scale both ingredients up or down based on your recipe’s requirements to maintain the right acidity and texture.
This simple calculation helps you get the perfect homemade buttermilk every time, no matter the amount.
Scaling Buttermilk Measurements
Since recipes often call for varying amounts of buttermilk, you’ll need to adjust the lemon juice or vinegar accordingly to maintain the right acidity. When scaling buttermilk measurements, keep the acid-to-milk proportion consistent.
This way, your recipe turns out perfectly every time.
Here’s how to scale your buttermilk:
- For 1 cup of buttermilk, mix 1 tablespoon of acid with milk.
- For ¾ cup, use 2 ¼ teaspoons of acid and fill with milk to ¾ cup.
- For ½ cup, use 1 ½ teaspoons of acid and add milk to reach ½ cup.
Just multiply or divide these proportions to suit any recipe size. Easy, right?
Acid-To-Milk Ratios
Getting the acid-to-milk ratio right is key to making buttermilk that works perfectly in any recipe. You’ll add 1 tablespoon of lemon juice or vinegar to 1 cup of milk, stir, and let it sit for about 5 minutes until it curdles.
This ratio creates the ideal tangy flavor and thickened texture. If you need smaller or larger amounts, adjust the acid accordingly—about 1 teaspoon of lemon juice or vinegar per ½ cup of milk works well.
Maintaining this precise measurement guarantees your homemade buttermilk has the right acidity and consistency, which is essential for proper leavening and flavor in baked goods. So, always keep the acid-to-milk ratio consistent to get reliable results every time.
Recipe Quantity Adjustments
To make buttermilk for any recipe, you’ll want to scale the acid and milk mixture proportionally, keeping the ratio consistent. This ensures your buttermilk substitute provides the right acidity and texture every time.
Whether you’re using lemon juice or vinegar, precise measuring is key during recipe scaling. Remember these points for easy milk adjustment:
- Use 1 tablespoon of lemon juice or vinegar per 1 cup of milk for accurate acid ratio.
- For ¾ cup of buttermilk, mix 1½ teaspoons of acid with milk.
- Maintain the same acid-to-milk ratio regardless of recipe size.
- Let the mixture sit for a few minutes to curdle before using.
Following these guidelines will help you adjust buttermilk quantities perfectly for any recipe. It’s easier than you might think!
Dairy-Free and Vegan Buttermilk Substitutes
Wondering how to make buttermilk without dairy? You can easily create vegan buttermilk by mixing 1 tablespoon of vinegar or lemon juice with 1 cup of plant-based milk like almond, soy, or coconut milk.
Let it sit for about 5 minutes until you see curdling. That’s the acidity from the vinegar or lemon juice reacting with the milk. This reaction thickens the liquid and gives it that tangy flavor typical of buttermilk.
For a richer, creamier dairy-free substitute, coconut milk works best. On the other hand, unsweetened, unflavored plant-based milk helps keep the acidity balanced.
You can use this vegan buttermilk just like traditional buttermilk in recipes that rely on acidity for leavening and flavor. It’s simple and works like a charm!
Storing and Freezing Homemade Buttermilk
Whether you’ve made traditional or dairy-free buttermilk, storing it properly helps keep it fresh and tasty. For short-term storage, just pop your homemade buttermilk in an airtight container and keep it in the fridge. It’ll last about 3 to 4 days that way.
If you want to enjoy it for longer, freezing is definitely your best bet.
Here’s how to store and freeze buttermilk the right way:
- Use airtight containers for fridge storage to keep out any unwanted stuff.
- Freeze buttermilk in small portions using ice cube trays. This makes thawing and portion control super easy.
- Don’t forget to label your containers with the freezing date so you know how fresh it is.
- When you’re ready to use frozen buttermilk, thaw it in the fridge and give it a good shake or stir. This helps bring everything back together if it’s separated.
And hey, always give it a sniff and a little taste before using to make sure it hasn’t gone sour or weird.
Frequently Asked Questions
How to Turn Regular Whole Milk Into Buttermilk?
You just add a tablespoon of lemon juice or vinegar to a cup, then fill it with whole milk. Stir gently, let it sit 5-10 minutes until it thickens, and your homemade buttermilk’s ready to use.
How to Make Buttermilk the Old Fashioned Way?
You mix 1 tablespoon of lemon juice or white vinegar into 1 cup of milk, then let it sit for 5 to 10 minutes. This thickens the milk, creating that tangy, old-fashioned buttermilk flavor you want.
How to Make Quick Homemade Buttermilk?
You’ll add 1 tablespoon of lemon juice or vinegar to 1 cup of milk, stir it, then let it sit for 5–10 minutes. It thickens and curdles, giving you quick homemade buttermilk ready for baking.
What Happens if I Use Regular Milk Instead of Buttermilk in a Recipe?
If you use regular milk instead of buttermilk, don’t expect your cake to throw a party—it’ll be flat and bland. You’ll miss that tang and fluffiness, turning your bake into a boring, flavorless disappointment.
Conclusion
Making homemade buttermilk is a simple, satisfying step that sparks scrumptious sweetness in your recipes. With just milk and a splash of acidity, you’ll swiftly stir up a silky, tangy treat that’s sure to shine.
Whether you’re whipping up waffles or baking bread, this easy, economical trick turns everyday ingredients into extraordinary eats. So, savor the simplicity and save some cash while you’re at it.
Homemade buttermilk adds a sensational, smooth flavor that elevates your dishes. It’s an easy way to make your recipes more delicious without extra hassle. Give it a try and enjoy the fresh taste of buttermilk made right at home!