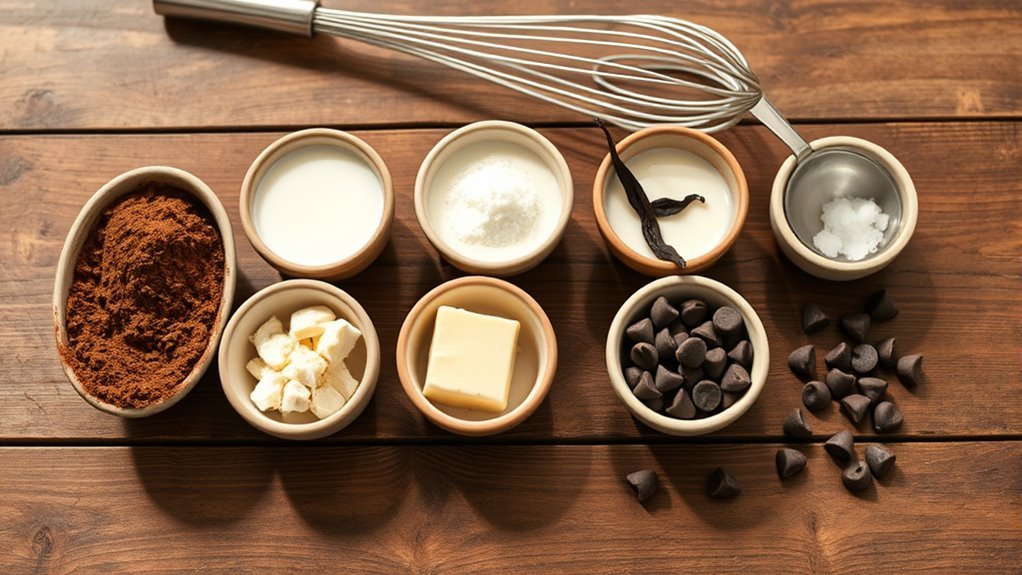
7 Steps to Make Milk Chocolate From Cocoa Powder
Start by selecting quality unsweetened cocoa powder, coconut oil, milk powder, and a sweetener like powdered sugar. These ingredients are key to making delicious milk chocolate from cocoa powder at home.
Setting up a clean workspace with a double boiler and molds will make the process smoother and more enjoyable.
Gently melt the cocoa butter, then whisk in sifted cocoa powder until the mixture is smooth.
Gradually blend in the milk powder and sweetener, which add that creamy, sweet flavor we all love in milk chocolate.
Keep stirring continuously while cooling to achieve a glossy, perfect texture.
Once the mixture looks just right, pour it into molds and let it set at room temperature.
Afterward, refrigerate the molds to help the chocolate firm up nicely.
Keep going to uncover tips on perfect molding and storage!
Key Takeaways
– Melt cocoa butter gently in a double boiler, maintaining around 115°F (46°C) for smooth consistency.
Take your time with this step to make sure it doesn’t get too hot. You want it nice and smooth.
– Gradually whisk in sifted unsweetened cocoa powder and powdered sugar to achieve desired sweetness.
Keep stirring as you add these ingredients so everything blends well and no lumps form.
– Slowly add milk powder while stirring continuously to prevent clumps and ensure creaminess.
This part is key for that rich, creamy texture we all love in milk chocolate.
– Stir mixture continuously during cooling to promote smooth texture and glossy finish.
Don’t stop stirring now—this helps the chocolate set just right with a nice shine.
– Pour into silicone molds, tap to release air bubbles, then set at room temperature before refrigerating to firm.
Give the molds a little tap to get rid of air bubbles so your chocolate looks smooth and perfect. Then, let it chill and firm up.
Choose Ingredients for Milk Chocolate
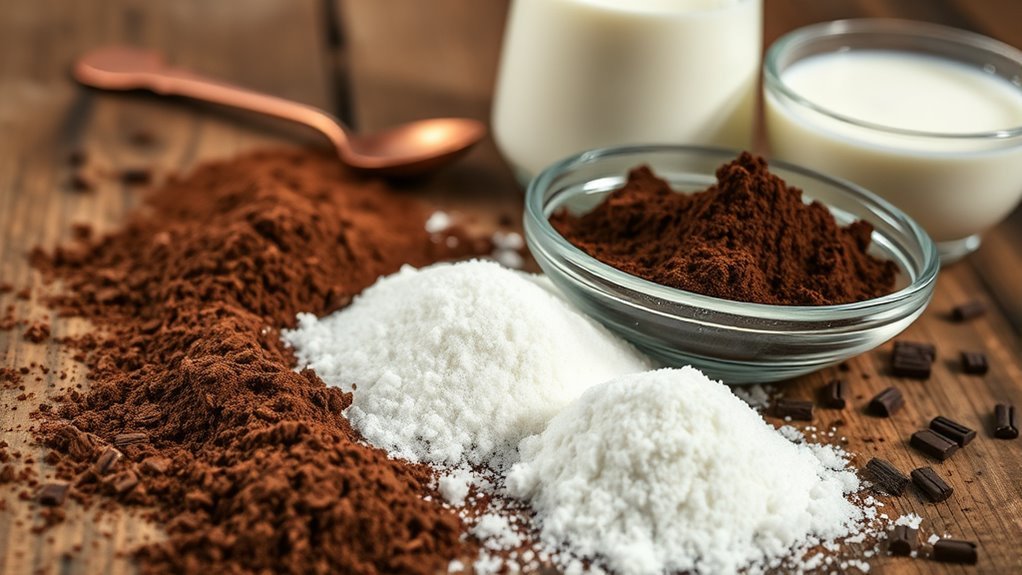
To make delicious milk chocolate, start by choosing a few key ingredients carefully. Pick high-quality unsweetened cocoa powder to give your chocolate a rich, deep flavor.
For the fat component, opt for coconut oil, which stays solid at room temperature and helps create the right texture. Add powdered sugar as your sweetener, adjusting the amount to suit how sweet you want your chocolate.
If you want that classic milk chocolate creaminess, include milk powder or a milk alternative. Don’t forget a touch of vanilla to enhance the overall taste and add complexity.
These simple but essential ingredients set the foundation for smooth, flavorful milk chocolate that you’ll love making and tasting.
Prepare Tools and Workspace for Chocolate Making
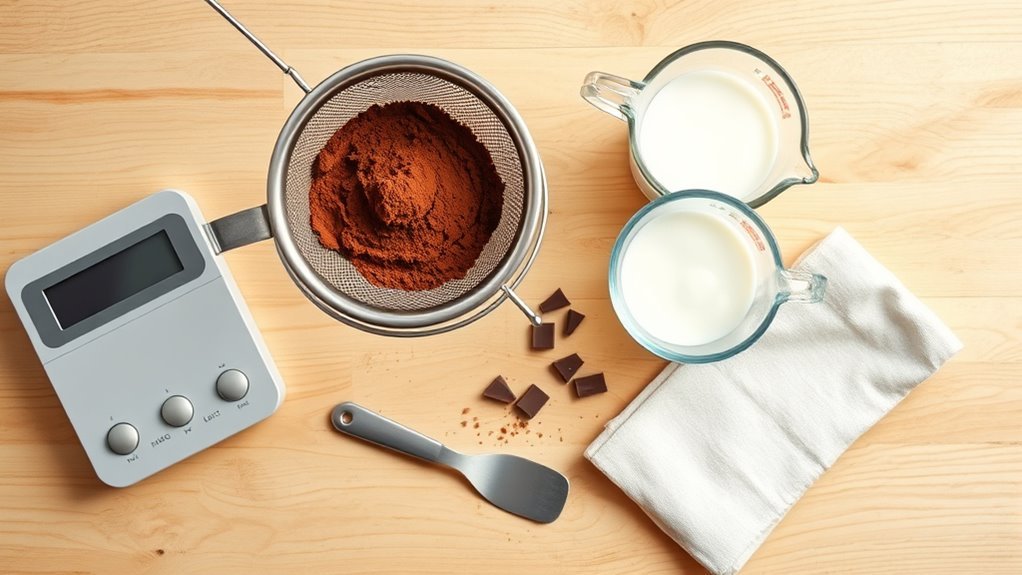
Before you start melting your chocolate, gather all the necessary tools like a double boiler, heat-safe mixing bowl, silicone molds, a spatula, and a thermometer to keep temperatures just right.
Set up your workspace in a well-ventilated area with enough room for melting, mixing, and pouring. Make sure all tools are clean and dry to avoid moisture affecting the chocolate’s texture.
Have your measured ingredients ready to streamline the process. It also helps to protect your workspace with a heat-resistant pad to prevent damage from spills or heat.
| Tool | Purpose |
|---|---|
| Double Boiler | Gentle, controlled melting |
| Heat-safe Bowl | Safe mixing vessel |
| Silicone Molds | Shaping chocolate |
| Thermometer | Precise temperature control |
Melt and Combine Cocoa Butter and Cocoa Powder for Milk Chocolate
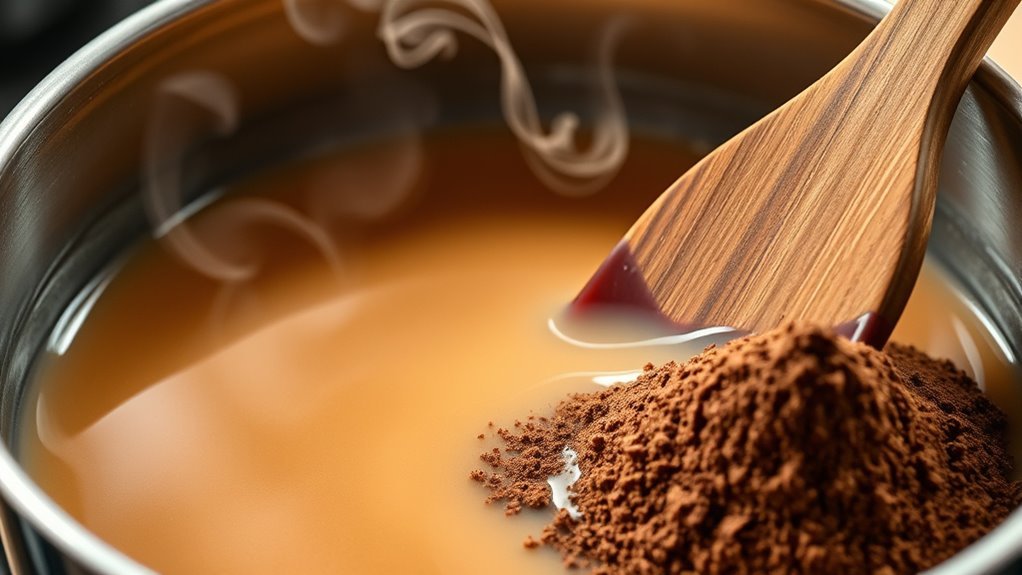
Start by melting the cocoa butter gently in a double boiler to avoid burning it. Once melted, gradually whisk in sifted cocoa powder to create a smooth, lump-free mixture.
Keep stirring until the cocoa powder fully blends with the butter for the best texture. This way, you’ll get a nice, even base for your milk chocolate.
Melting Techniques
While gently melting cocoa butter over simmering water, you’ll want to keep the heat steady around 115°F (46°C). This helps guarantee it liquefies smoothly without scorching.
Use a double boiler by placing a heatproof bowl above simmering water—just make sure the bowl doesn’t touch the water. This indirect heat lets you melt cocoa butter evenly with precise temperature control.
Stir continuously to prevent separation and ensure a smooth mixture. Once melted, remove from heat, then whisk in sifted cocoa powder gradually for uniform blending.
Follow these steps:
- Set up your double boiler with simmering water.
- Slowly melt cocoa butter, stirring constantly.
- Monitor temperature to keep it near 115°F (46°C).
- Remove from heat and whisk in cocoa powder immediately.
Mixing Cocoa Butter
How do you achieve a perfectly smooth blend when mixing cocoa butter and cocoa powder? Start by gently melting cocoa butter over a double boiler, keeping the temperature steady between 45-50°C (113-122°F).
Gradually sift in cocoa powder while whisking continuously to avoid lumps. Use a spatula or whisk to blend thoroughly until you get a uniform, smooth mixture.
Maintaining a consistent temperature is key to preventing fat separation or burning. Once combined, remove from heat and proceed with the next steps.
| Step | Action | Tip |
|---|---|---|
| 1 | Melt cocoa butter | Use double boiler |
| 2 | Maintain temperature | 45-50°C (113-122°F) |
| 3 | Sift cocoa powder | Add gradually |
| 4 | Whisk mixture continuously | Avoid lumps |
| 5 | Blend thoroughly | Uniform smooth consistency |
Add Milk Powder and Sweetener for Creamy Flavor
When you add milk powder to your melted chocolate mixture, you’ll create a creamy texture that closely resembles store-bought milk chocolate. To achieve this smooth consistency in your homemade chocolate, follow these steps carefully:
First, gradually sprinkle milk powder into the warm chocolate while stirring constantly to avoid clumps. It’s best to choose whole milk powder for richness or non-fat for a lighter taste.
Next, add your preferred sweetener—powdered sugar or maple syrup—to balance sweetness and creaminess. Mix everything thoroughly until the blend is homogenous and velvety.
Stir and Cool Mixture for Smooth Texture
Once you remove the mixture from heat, keep stirring it continuously to prevent lumps and guarantee even texture. Gradually cooling while stirring helps you achieve a smooth, creamy consistency without any grittiness.
Using a circular motion with a heat-safe spatula will improve the texture and give your chocolate a glossy finish. It’s a simple step, but it makes a big difference! Just keep at it until you see that beautiful shine.
Continuous Stirring Importance
Although it might seem simple, continuously stirring the chocolate mixture as it cools plays an essential role in achieving a smooth, lump-free texture. Continuous stirring during the cooling process guarantees even distribution of fats and cocoa solids, preventing grittiness and separation.
This gentle agitation also helps dissipate heat gradually, which is vital for proper tempering and developing a fine crystalline structure. By stirring consistently, you ensure a silky, cohesive chocolate with a glossy finish.
Here’s why continuous stirring matters:
- Prevents lumps and promotes smooth texture
- Guarantees even distribution of ingredients
- Aids proper tempering by controlling heat
- Develops a fine crystalline structure for better mouthfeel
Keep stirring to enjoy perfectly smooth milk chocolate every time.
Gradual Cooling Benefits
Continuous stirring sets the stage for gradual cooling, which plays a key role in preserving your chocolate’s smooth texture and glossy finish. By cooling the mixture slowly while stirring, you prevent uneven crystallization and sugar bloom, ensuring better tempering.
This cooling process evenly distributes temperature, reducing graininess and avoiding chocolate seizing. Rapid cooling, like placing it in the fridge immediately, risks a dull, gritty chocolate texture. Instead, let it cool at room temperature with intermittent stirring to enhance creaminess and firmness.
| Benefit | Explanation |
|---|---|
| Smooth Finish | Prevents sugar bloom and graininess |
| Even Tempering | Promotes consistent crystallization |
| Creamier Texture | Reduces gritty feel through slow cooling |
| Glossy Appearance | Maintains shine and firm snap through proper cooling process |
Texture Improvement Techniques
To achieve a smooth texture in your milk chocolate, you’ll need to stir the mixture as it cools slowly over gentle heat. This gradual cooling with careful temperature control prevents lumps and promotes a homogeneous blend.
Stirring constantly keeps the consistency even and silky.
Follow these steps for the best results:
- Continuously stir the mixture while it cools in a double boiler to maintain gentle heat.
- Scrape the bowl’s sides with a spatula to incorporate all the chocolate.
- Cool the mixture until it thickens but remains pourable for a smooth finish.
- Avoid rapid cooling or refrigeration; let it set at room temperature for ideal consistency.
This method guarantees your milk chocolate develops a luxuriously smooth texture every time.
Pour Chocolate Into Molds and Set Properly
Once your chocolate mixture is melted and smooth, pour it carefully into silicone molds or ice cube trays, filling each cavity evenly to guarantee consistent shapes.
After pouring, tap the molds gently on the counter to release any air bubbles and help the chocolate settle evenly. Use a spatula to smooth the surface of the chocolate in the molds, giving it a polished look.
Let the chocolate sit at room temperature for about 30 minutes to start setting. Then, refrigerate the molds for at least 30 minutes to assure the chocolate is fully set and firm.
Once set, your homemade milk chocolate will be ready to pop out of the molds and enjoy. Proper pouring and setting are key to perfect chocolate pieces.
Store Homemade Milk Chocolate to Keep It Fresh
Although your homemade milk chocolate looks tempting to eat right away, storing it properly is essential to keep it fresh and delicious. To guarantee ideal storage, follow these steps:
- Place your chocolate in an airtight container to protect it from moisture and air exposure. This can cause spoilage or bloom, so keeping it sealed is key.
- Store the container in a cool, dry place away from direct sunlight. This helps maintain the chocolate’s texture and flavor.
- If you live in a warm or humid environment, use refrigeration to prevent melting and extend shelf life. It’s a simple way to keep your chocolate safe.
- For longer shelf life, freeze the chocolate. Just make sure it’s well wrapped to avoid freezer burn and odor absorption.
When you want to enjoy it, bring the chocolate to room temperature before unwrapping. This prevents condensation and keeps the texture just right.
Proper storage guarantees your homemade milk chocolate stays tasty and fresh for as long as possible. So, take these steps and enjoy every bite!
Frequently Asked Questions
How to Turn Cocoa Powder Into Milk Chocolate?
You melt cocoa butter, then whisk in cocoa powder, powdered sugar, and milk powder gradually. Keep stirring until smooth, pour into molds, let it cool and set. Enjoy your creamy, homemade milk chocolate treat!
How to Turn Cocoa Powder Into Chocolate?
Turning cocoa powder into chocolate means lovingly blending cocoa butter, sweeteners, and milk to create a smooth delight. You’ll melt, mix, and temper carefully, ensuring you coax out that rich, velvety magic in every bite.
What Are the 7 Steps of Making Chocolate?
You melt fats, mix in cocoa powder, add sweeteners, temper the mixture, pour it into molds, cool it down, and finally package your chocolate. These seven steps will help you create smooth, delicious chocolate every time.
How to Make Chocolate With 3 Ingredients?
You don’t need a wizard’s spell to make chocolate with just three ingredients. Melt fat, mix cocoa powder and sugar until smooth, then chill. Soon, you’ll have your own sweet, magical treat ready to enjoy.
Conclusion
Now that you’ve made your own milk chocolate, you’ll appreciate the care and craft behind each bite. Think of Sarah, who started making chocolate at home to control ingredients for her family’s allergies—her homemade treats brought joy and safety together.
By following these steps, you’re not just creating chocolate; you’re crafting a personalized experience that’s delicious and meaningful. Keep experimenting, and enjoy the sweet rewards of your own kitchen creations!
Making milk chocolate from cocoa powder is a fun and rewarding process. It lets you customize flavors and ingredients exactly how you like. So, dive in, have fun with the recipe, and savor the rich taste of homemade milk chocolate every time!